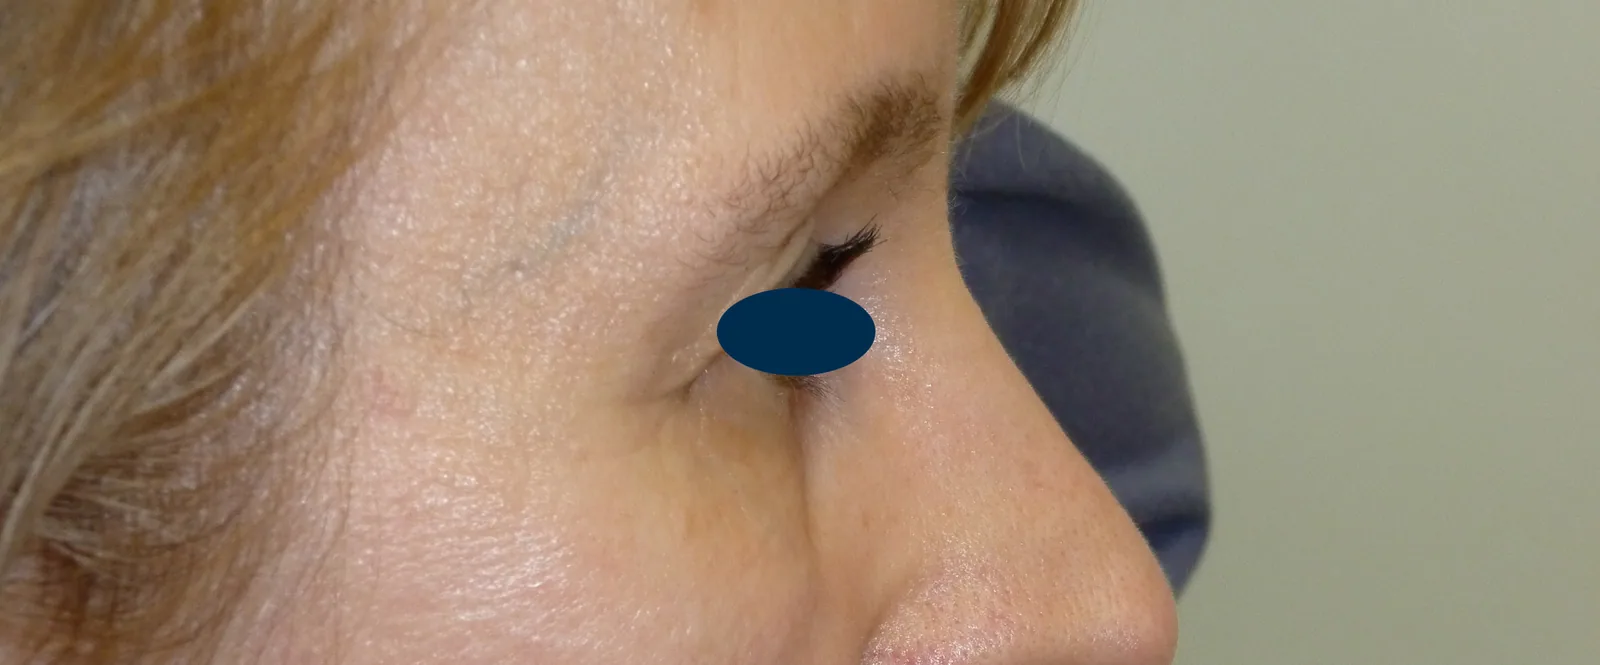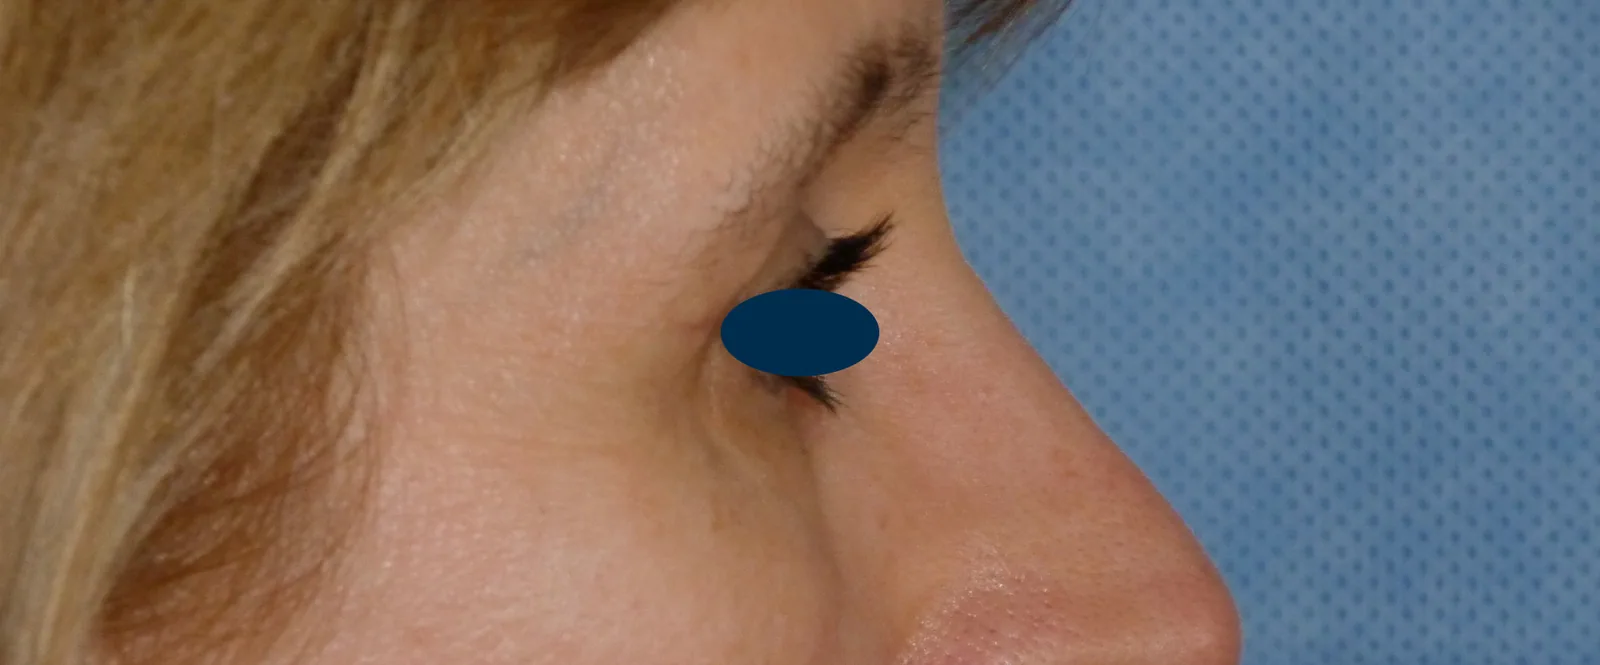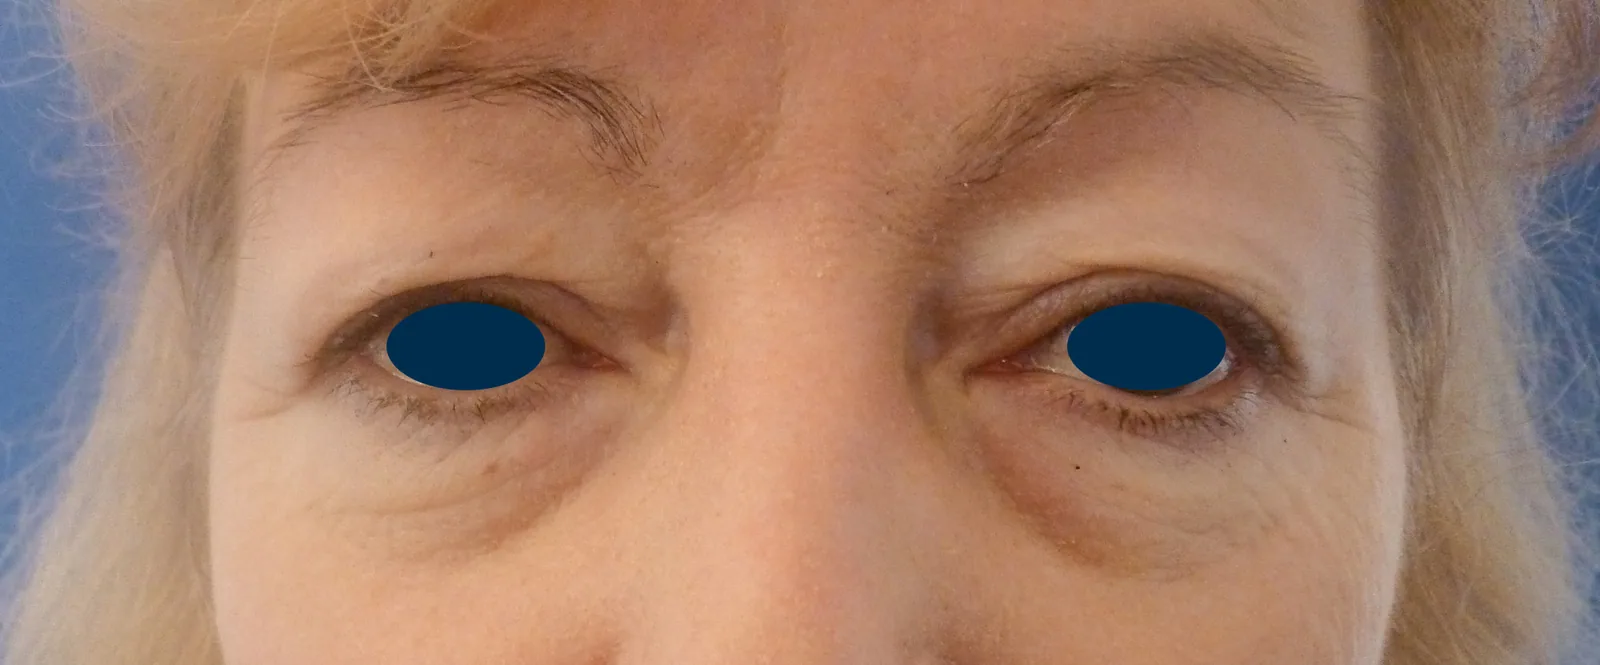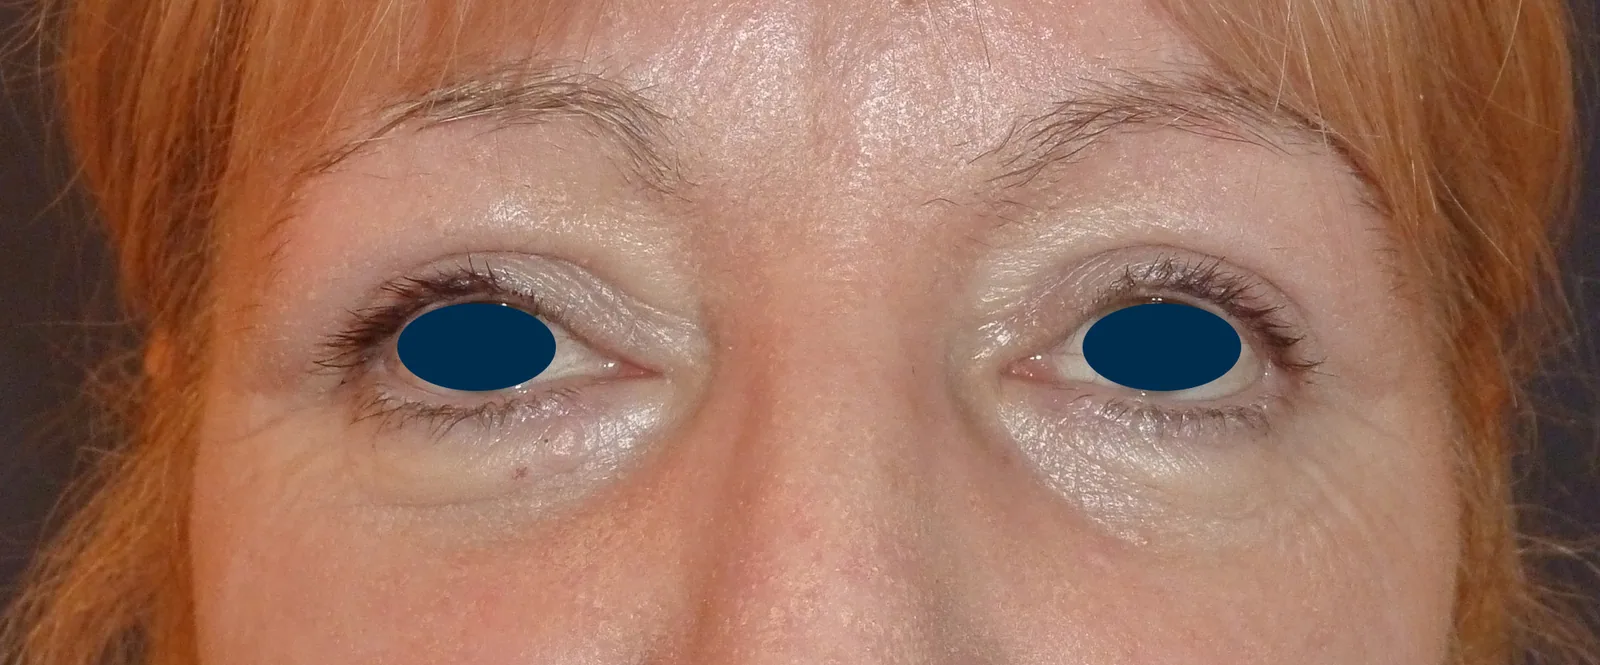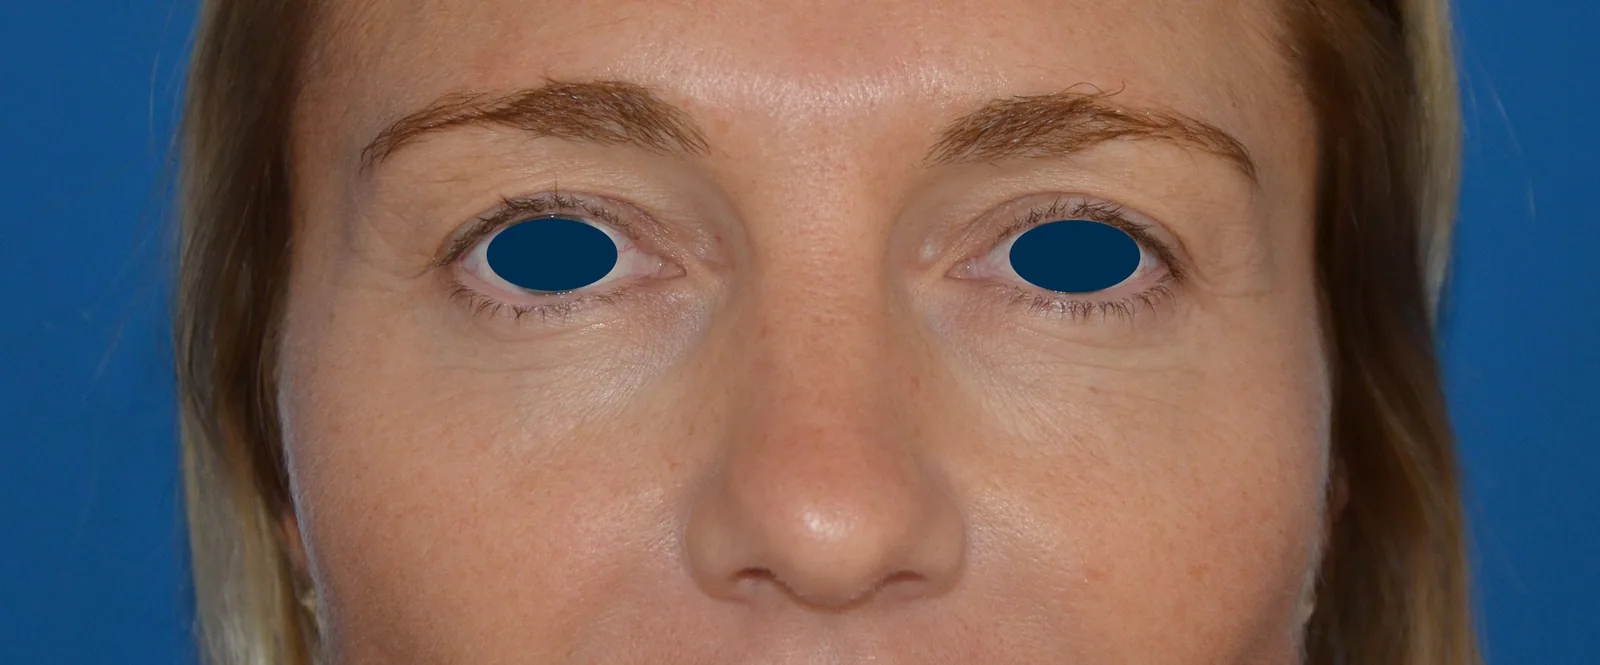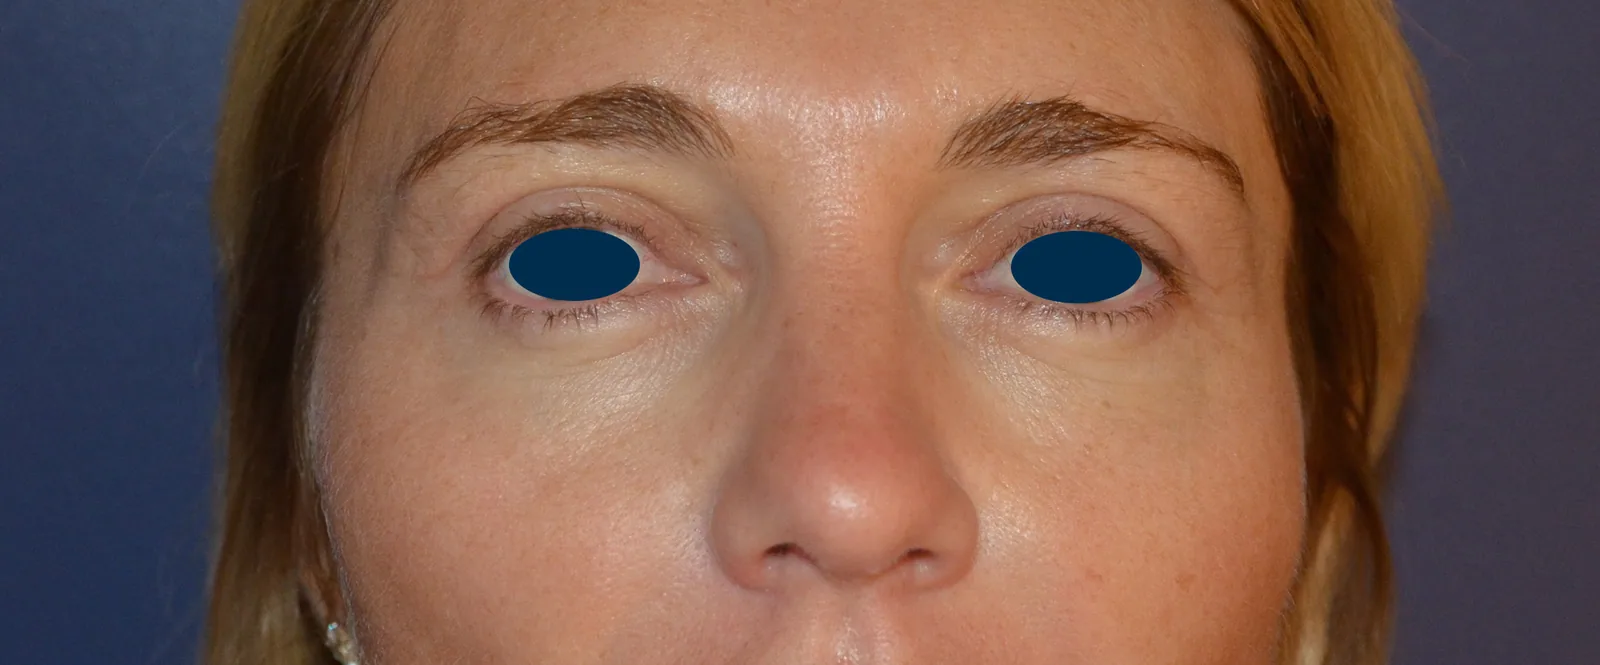
Blepharoplasty: 9 cases in before-and-after photos
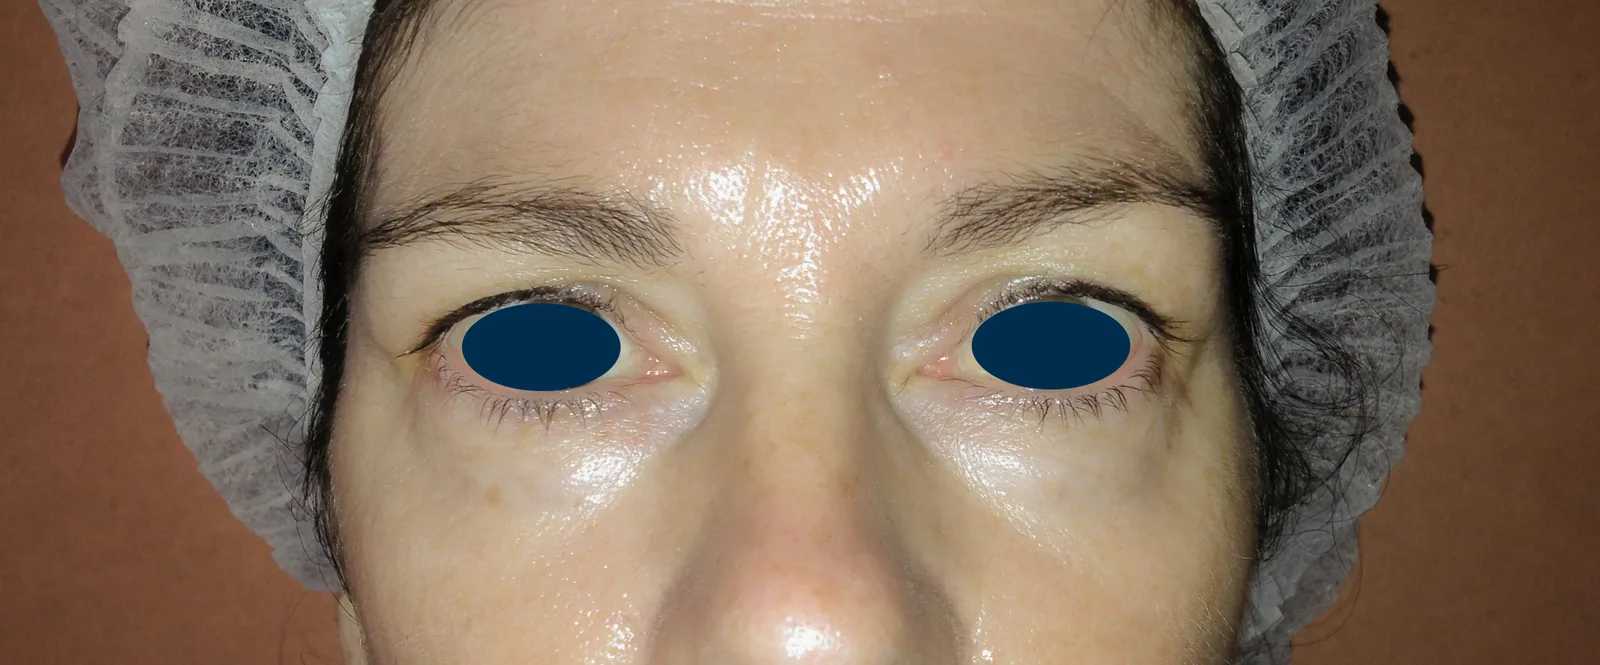
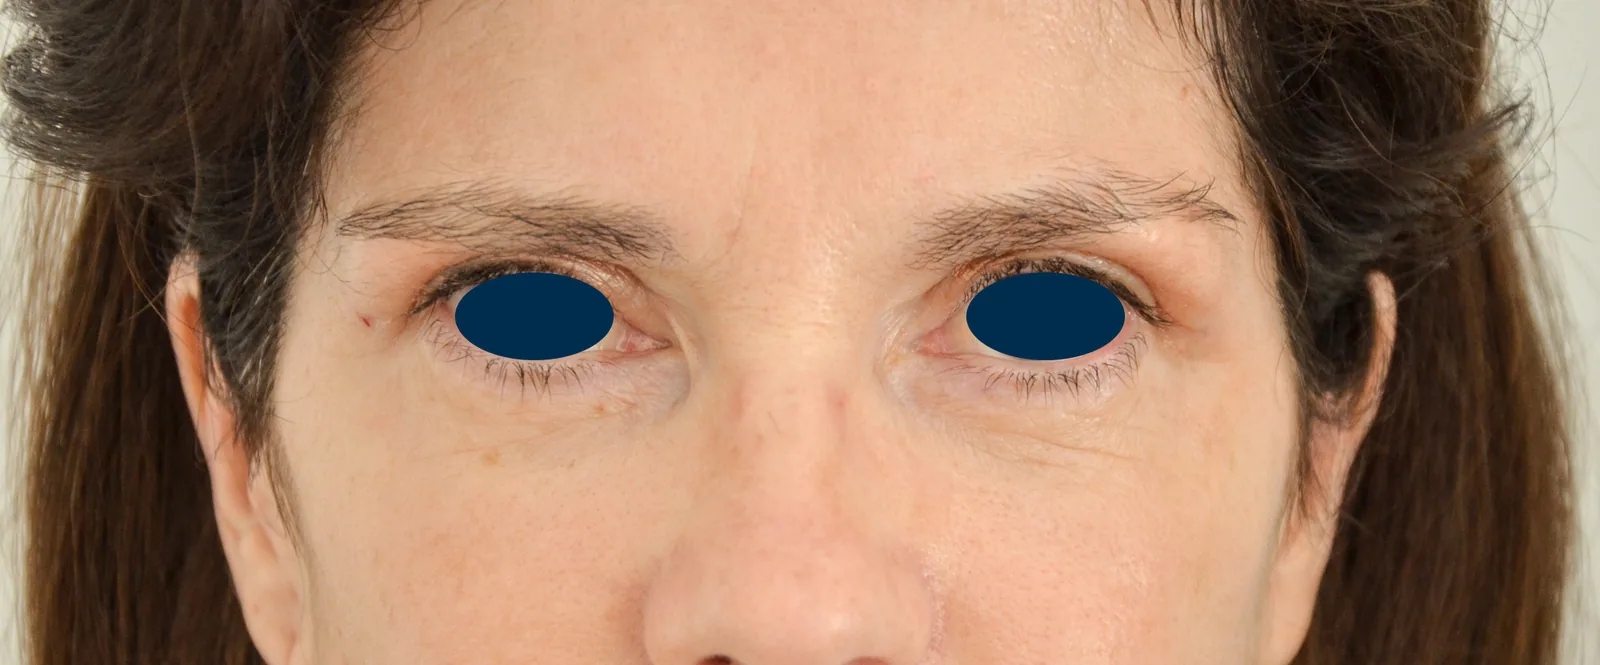
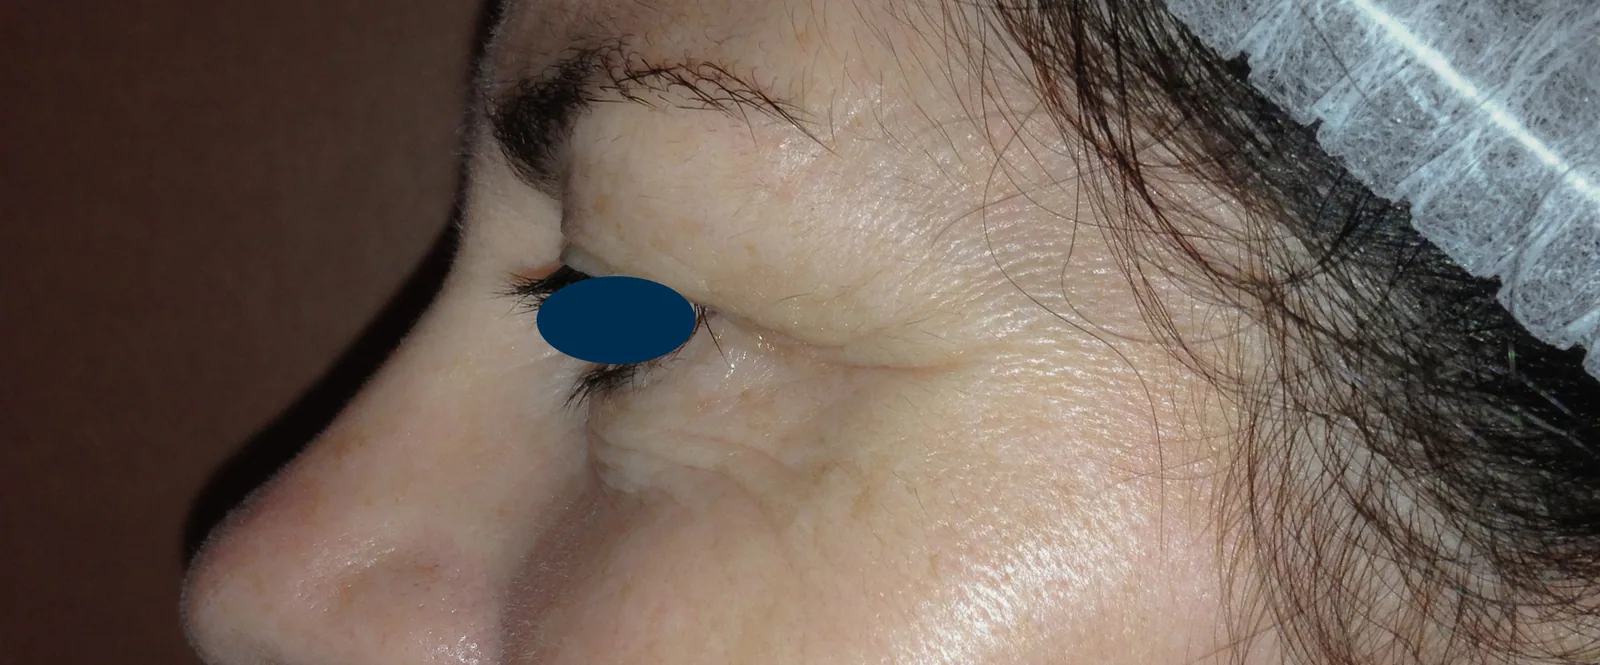
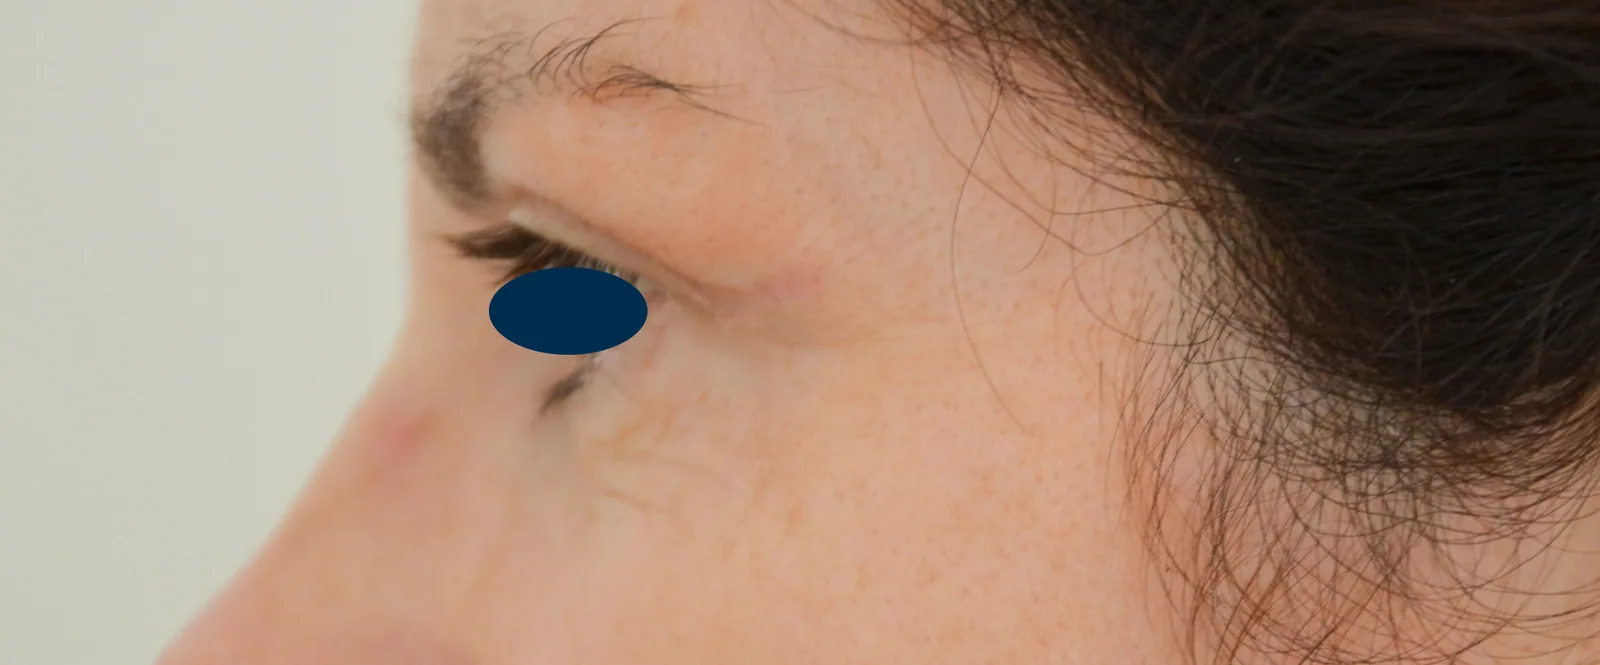
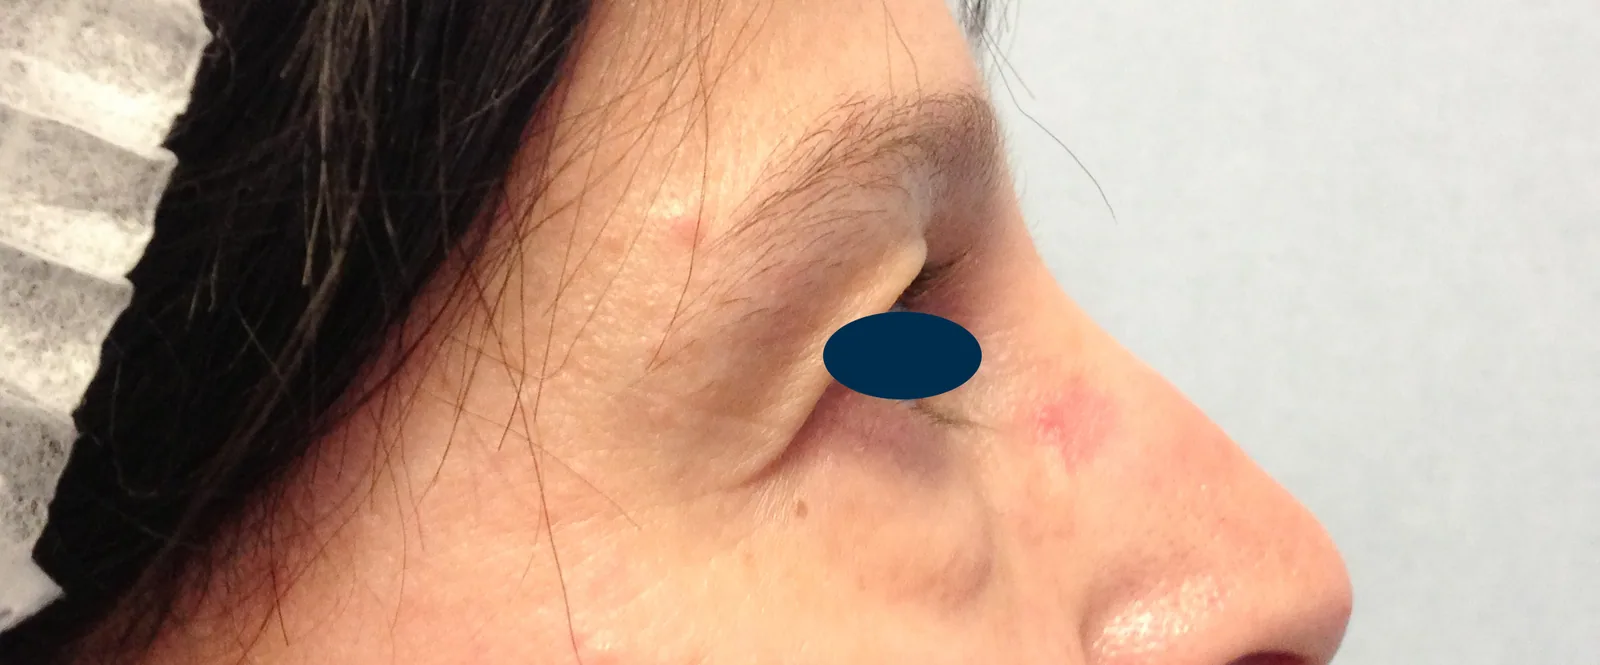
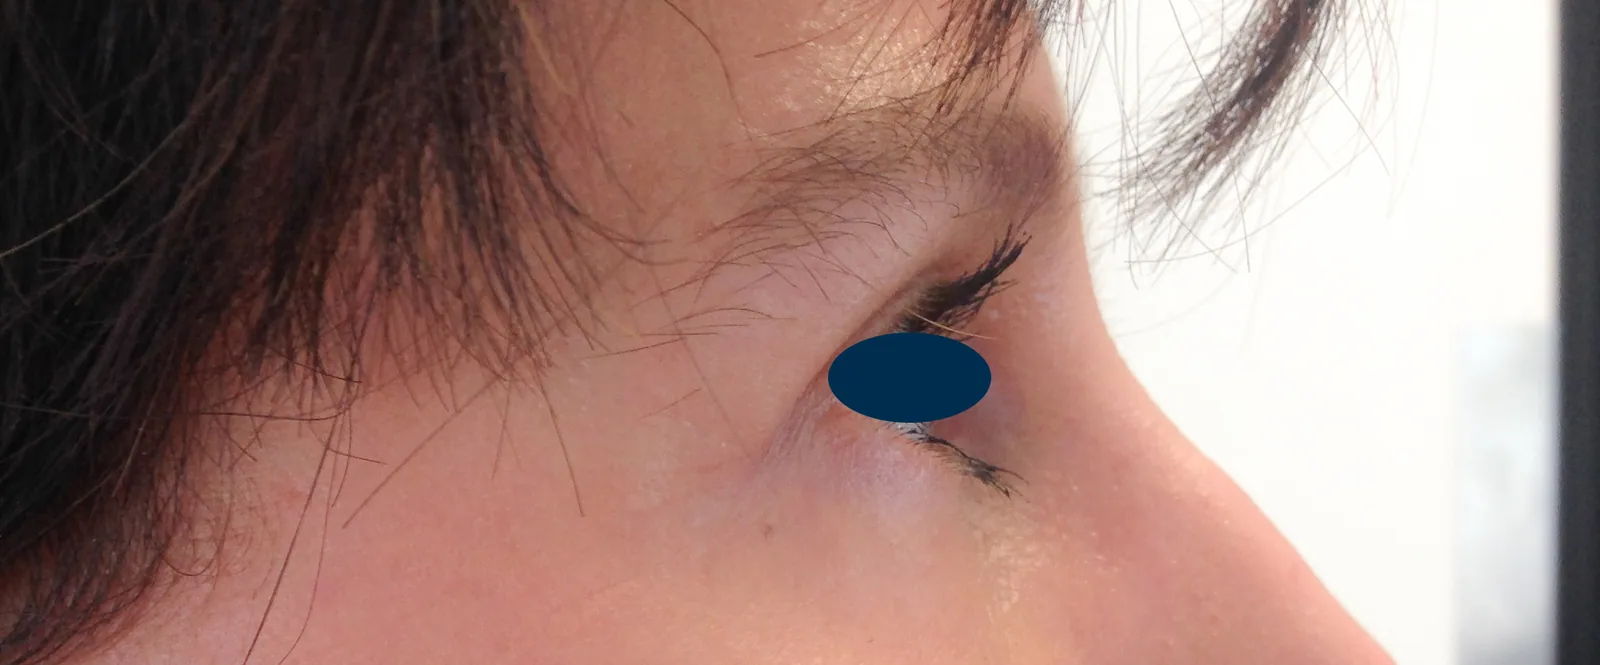
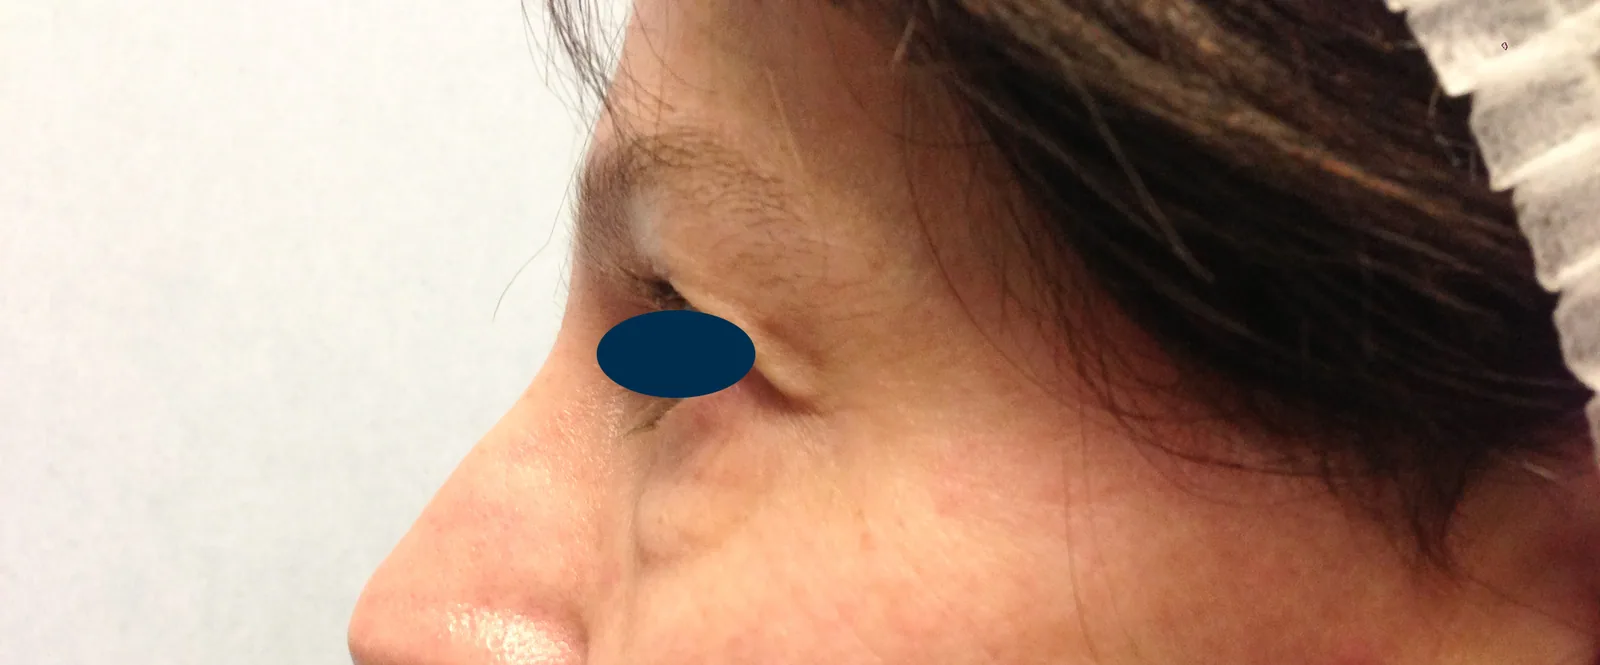
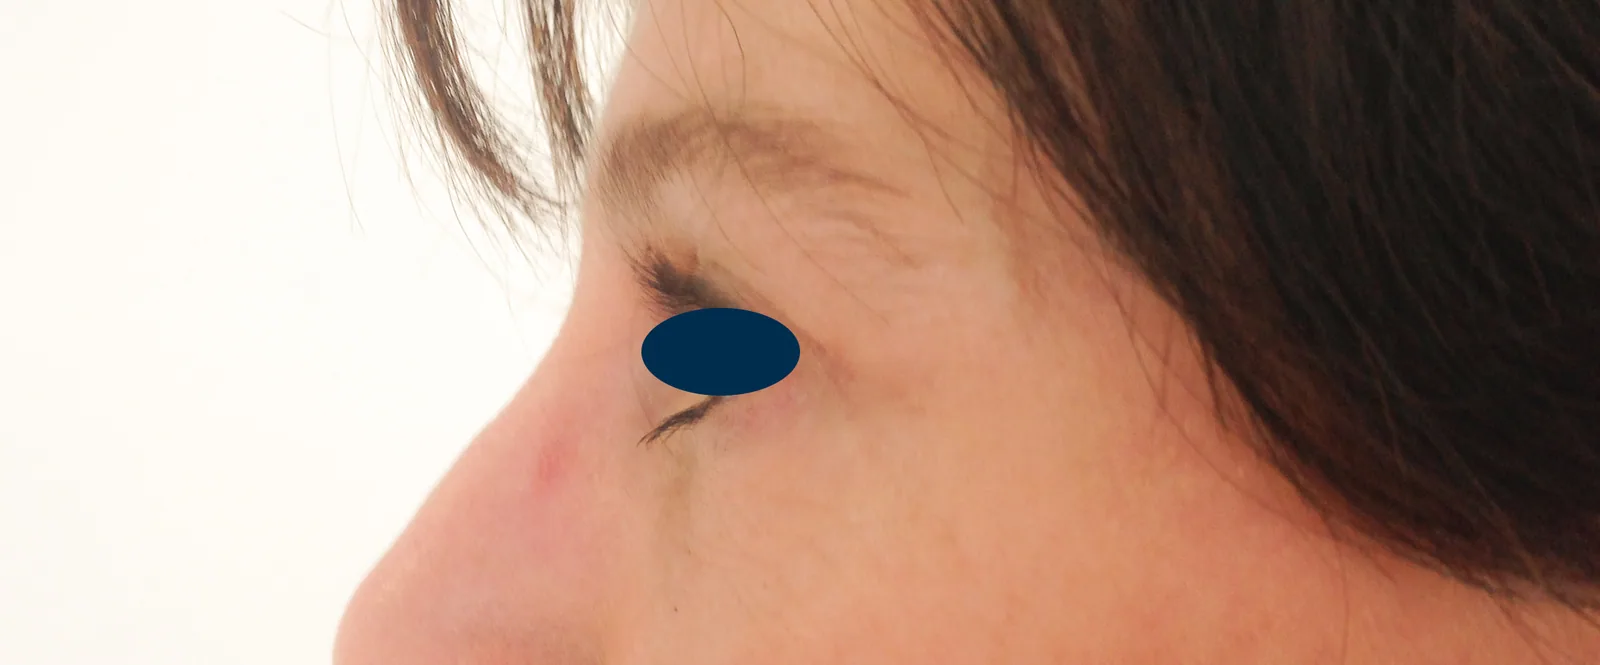
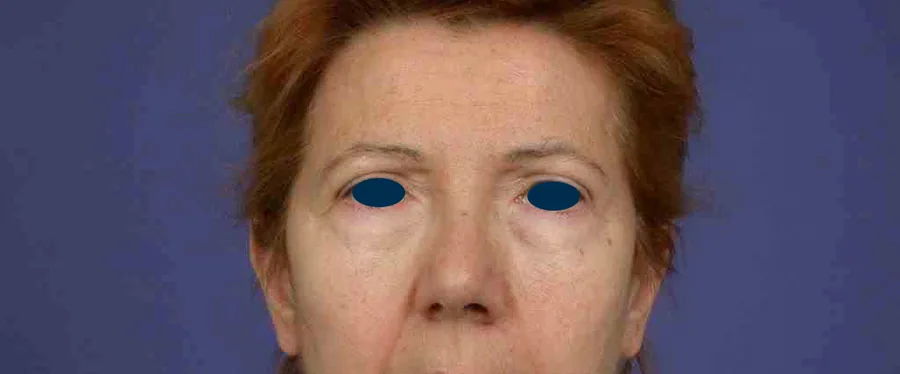
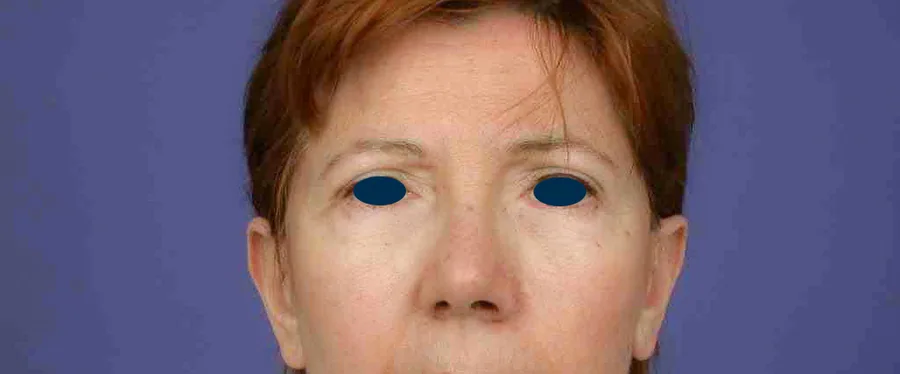
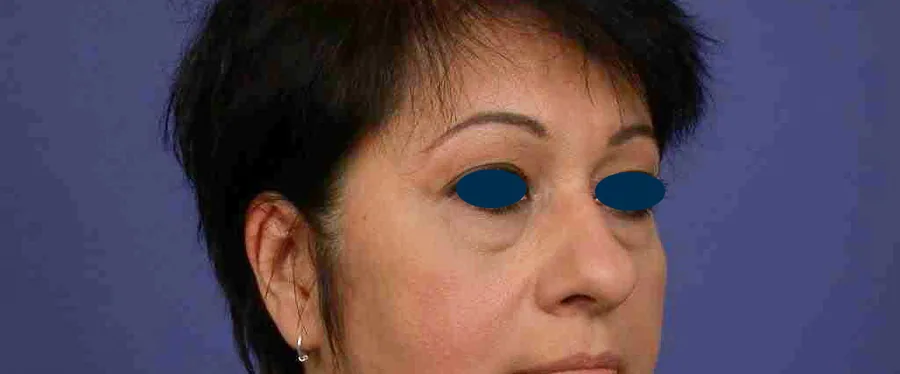
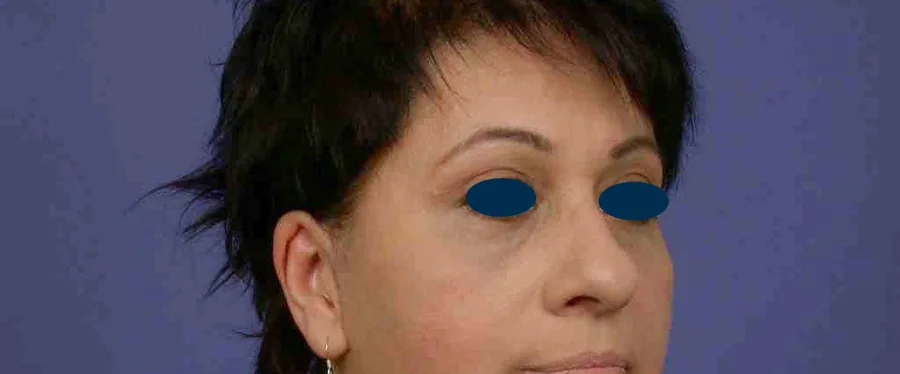
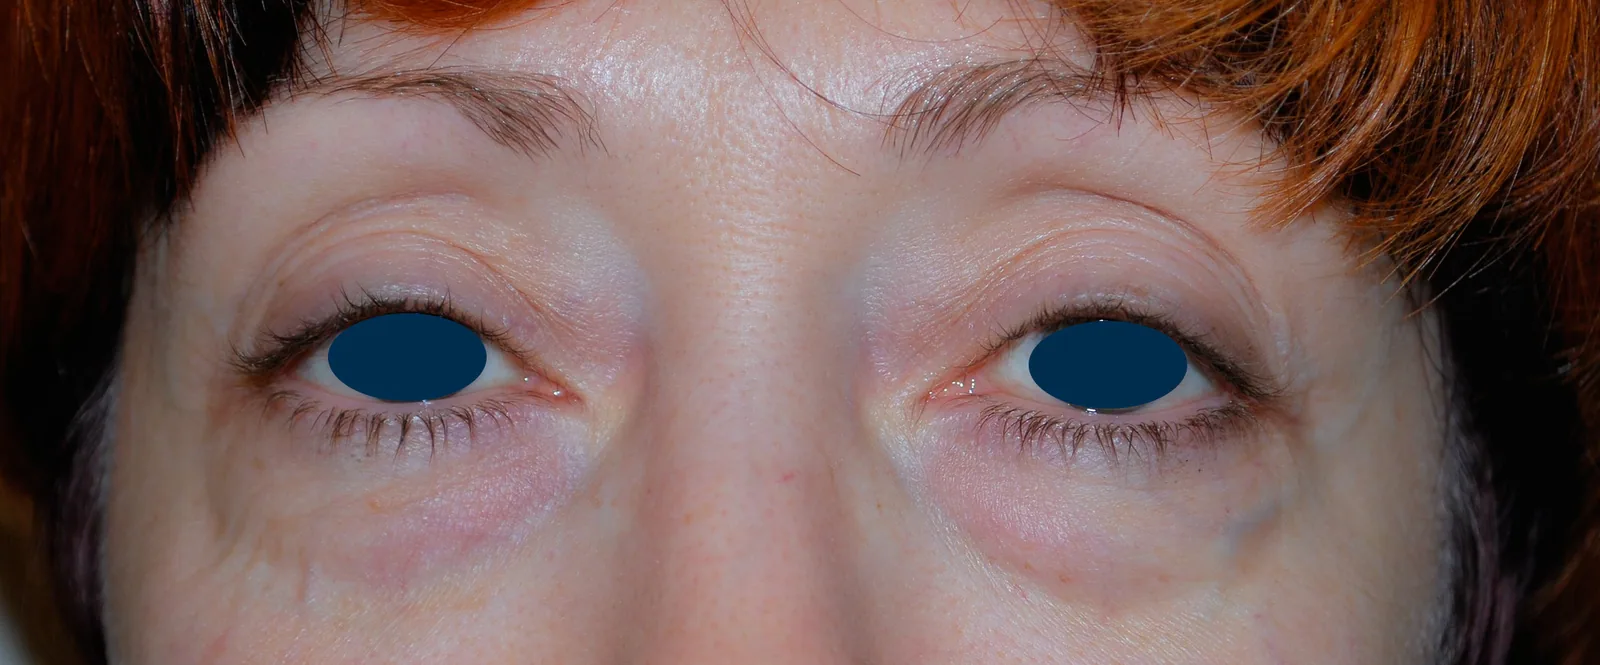
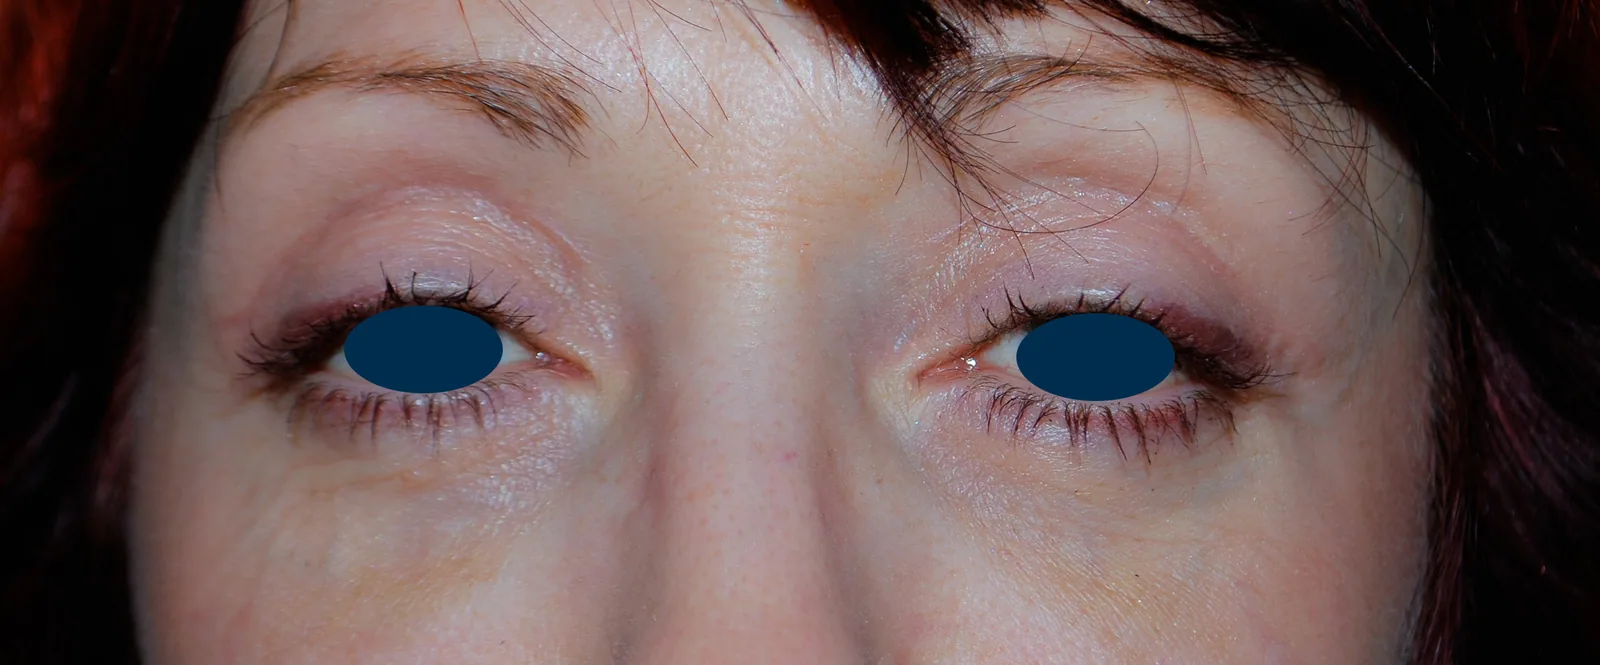
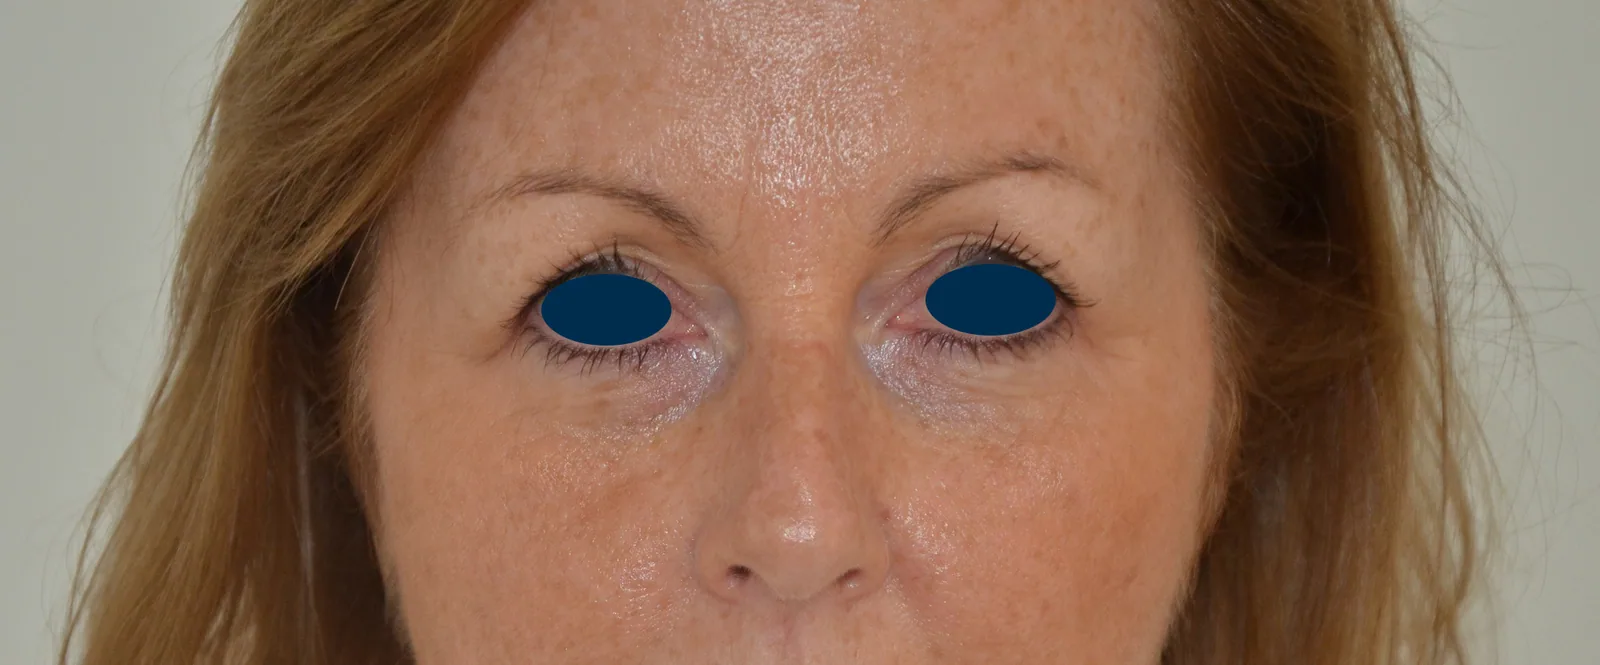
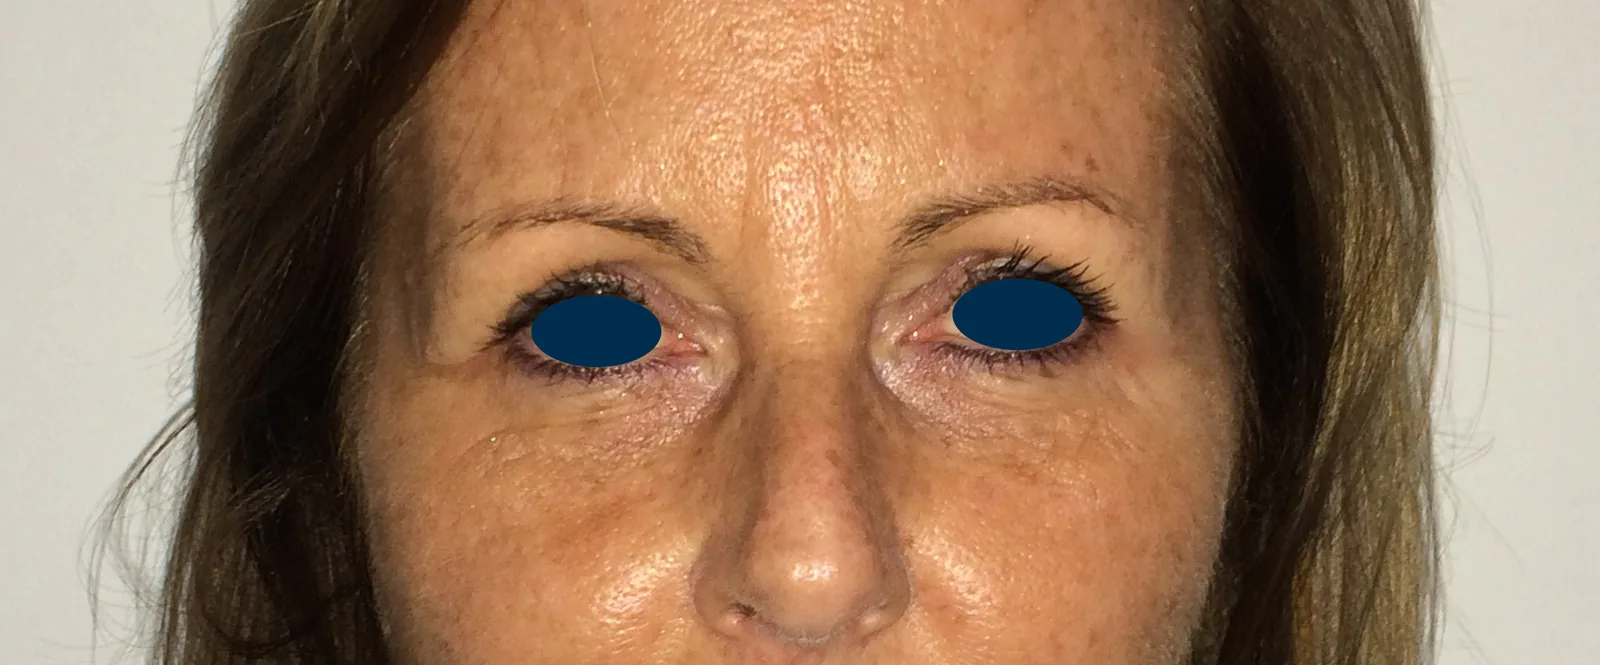
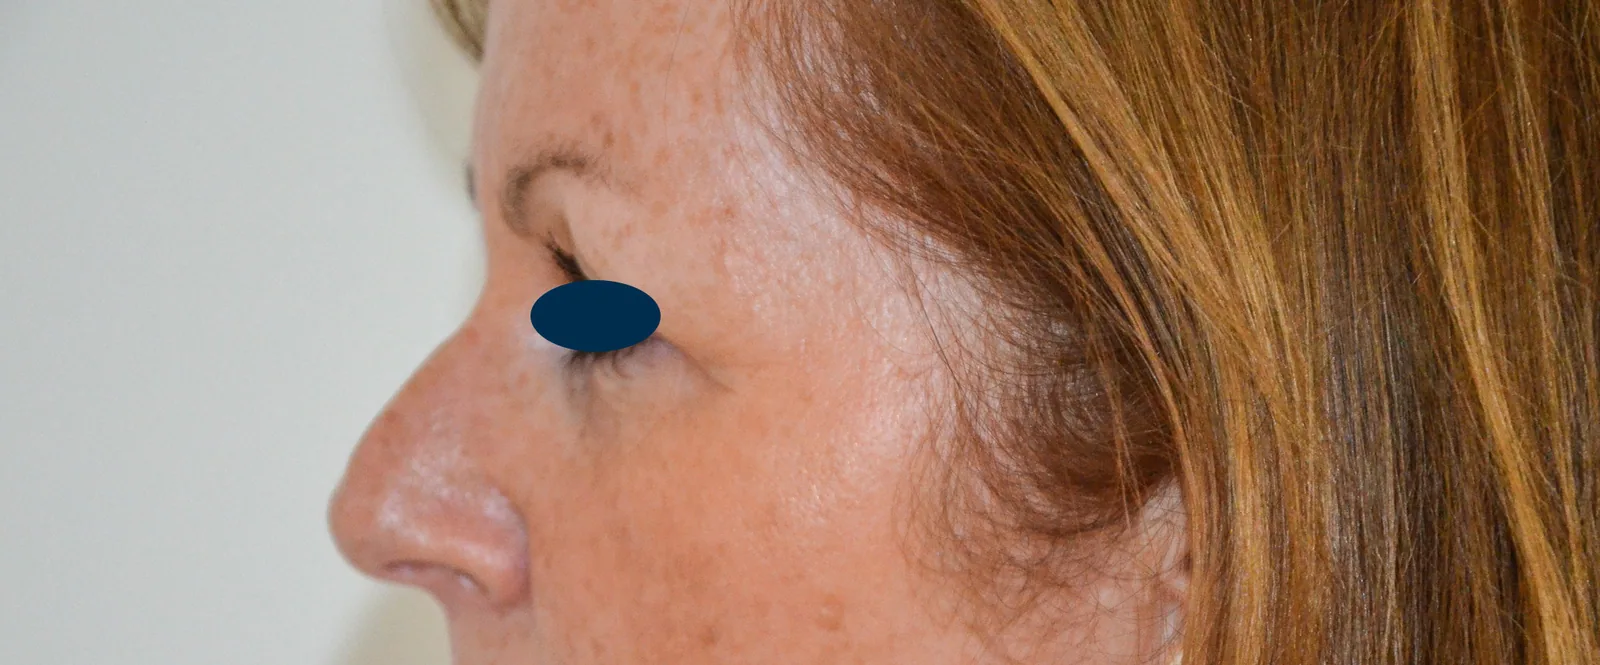
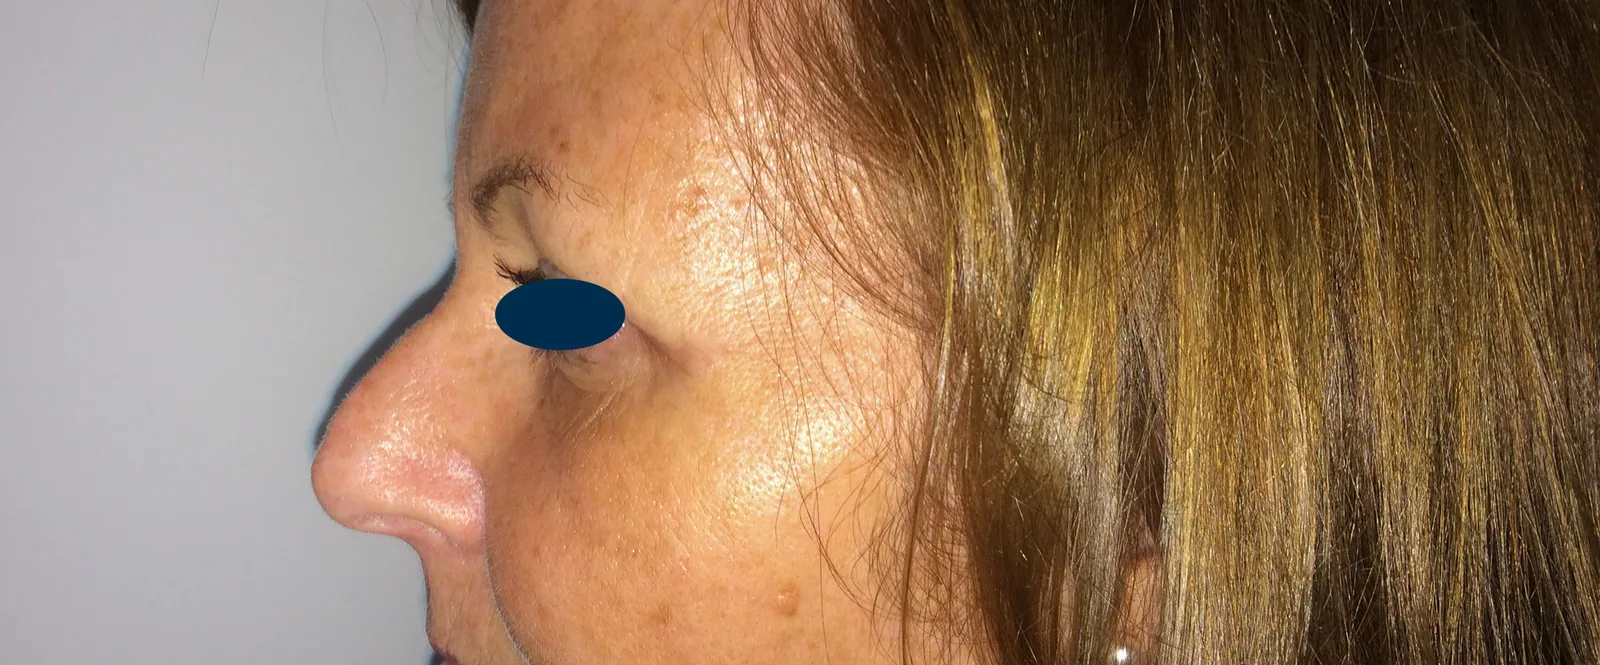
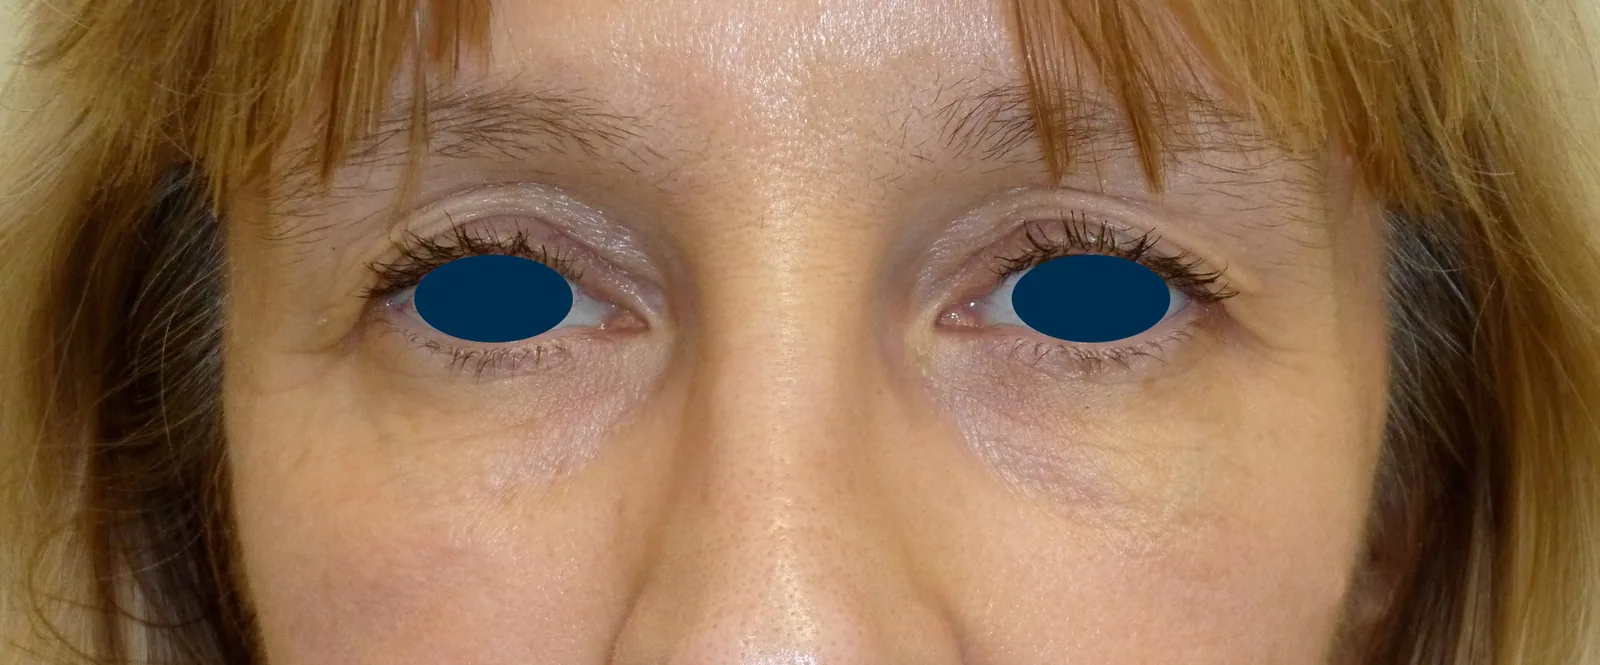
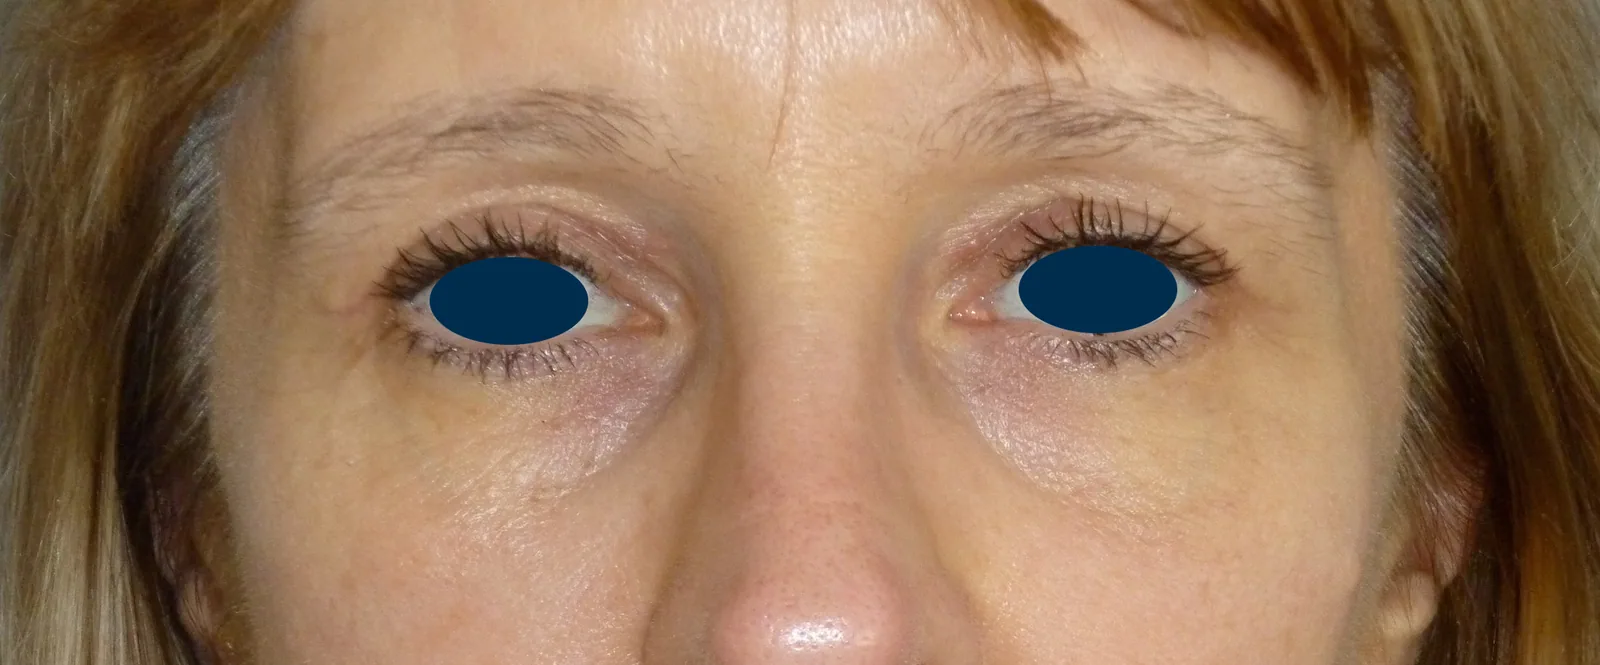
This gallery brings together real before-and-after photographs of patients who have had a blepharoplasty with Dr Benjamin Pulvermacker, for the upper as well as the lower eyelids. The cases shown illustrate the main indications: correction of eyelid bags, softening of hollow tear troughs, treatment of excess skin on the upper eyelid or of tired-looking eyes. The objective sought is always a natural result.
Every situation is different. To find out more about how the operation proceeds and the techniques used, see our page devoted to eyelid surgery, or book a consultation.
How to read these blepharoplasty photographs
On the upper eyelid, compare the amount of skin visible between the lashes and the crease: excess skin that hangs over the crease makes the eyes look heavy. On the lower eyelid, look at the bags and at the transition between the eyelid and the cheek, where the tear trough hollows. Some asymmetry between the two eyes is almost always present before surgery: it can already be seen in the “before” photographs, and it should be kept in mind when looking at the “after” ones.
On the upper eyelid, the scar is hidden in the eyelid crease, where the mobile part of the lid meets the fixed part; on the lower eyelid, some techniques leave no scar on the skin at all. Swelling and bruising settle within seven to ten days, but the result can only be judged between three and six months — longer when correcting a round eye or an ectropion, as the position of the eyelid continues to settle.
Frequently asked questions
Are the photographs real results?
Yes. All the photographs shown are of patients operated on by Dr Pulvermacker and are published with their written consent.
Will my result be the same?
No. Every morphology, every skin quality and every process of healing is different: these images illustrate individual results.