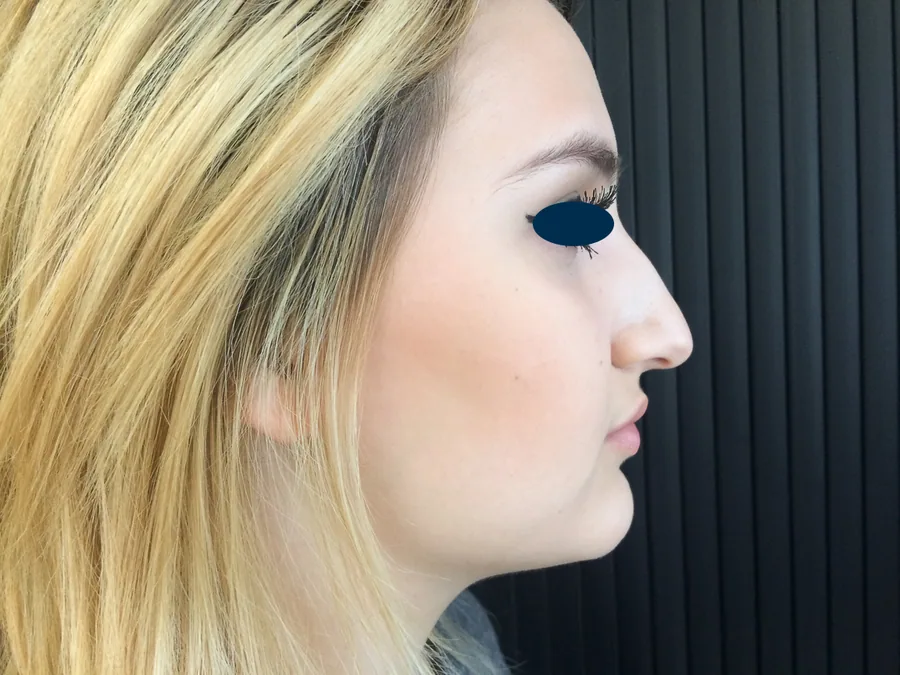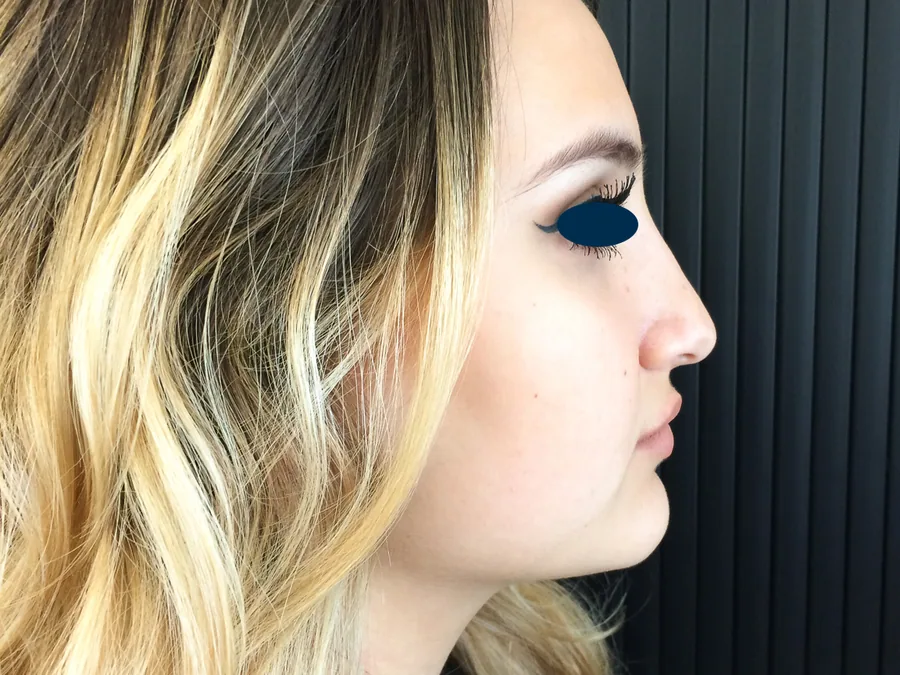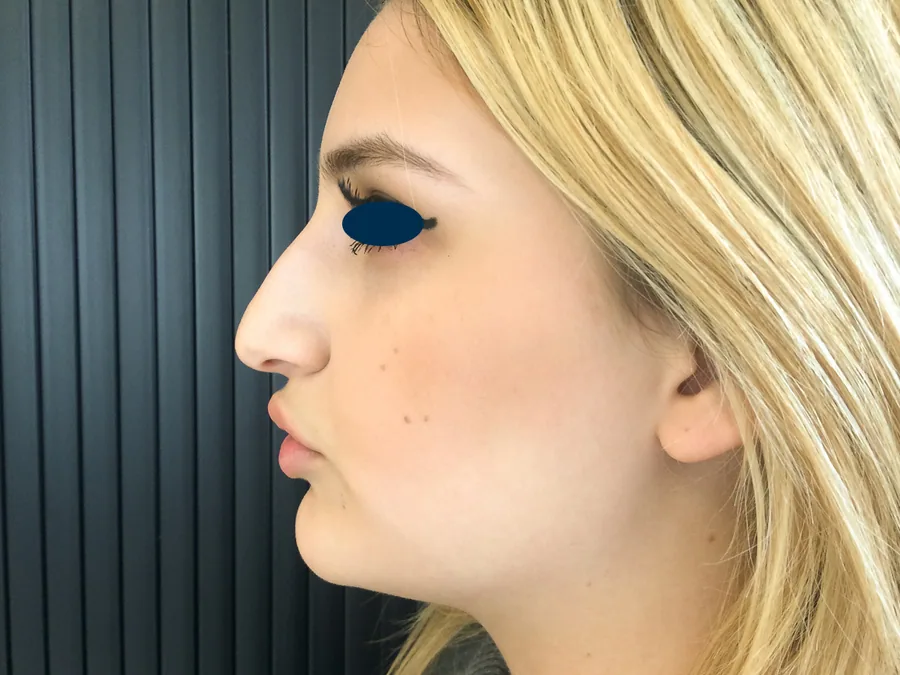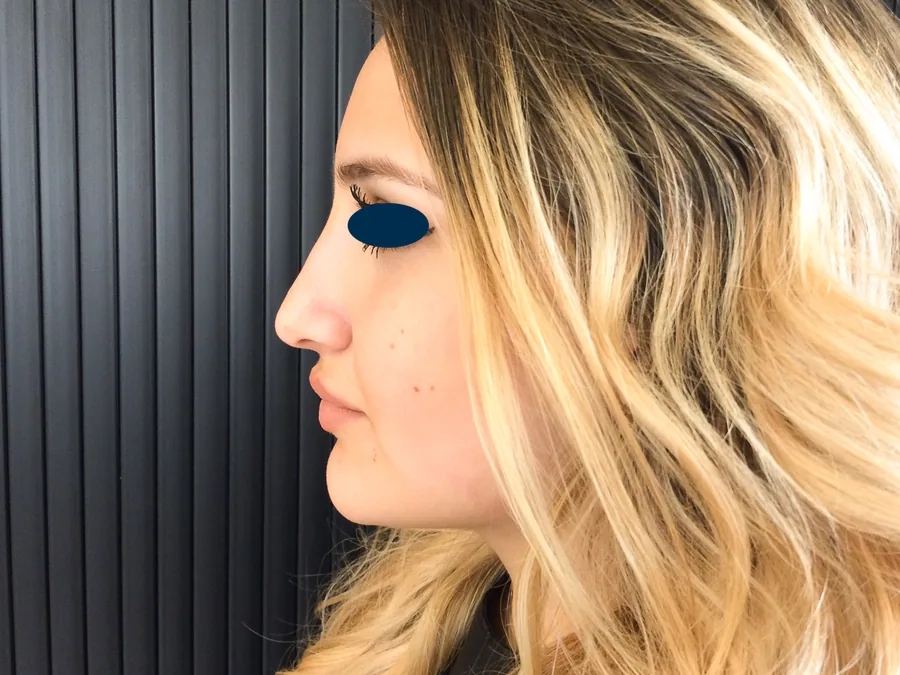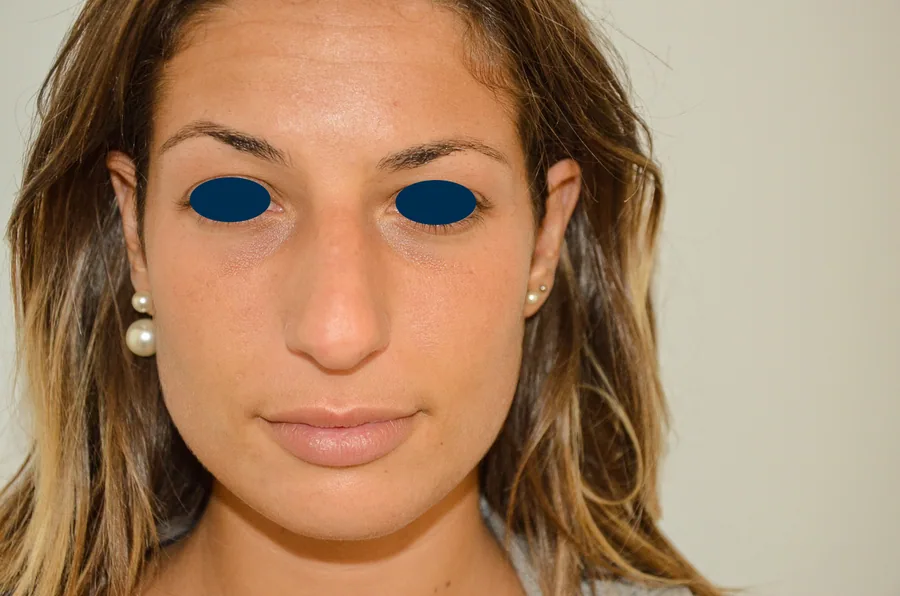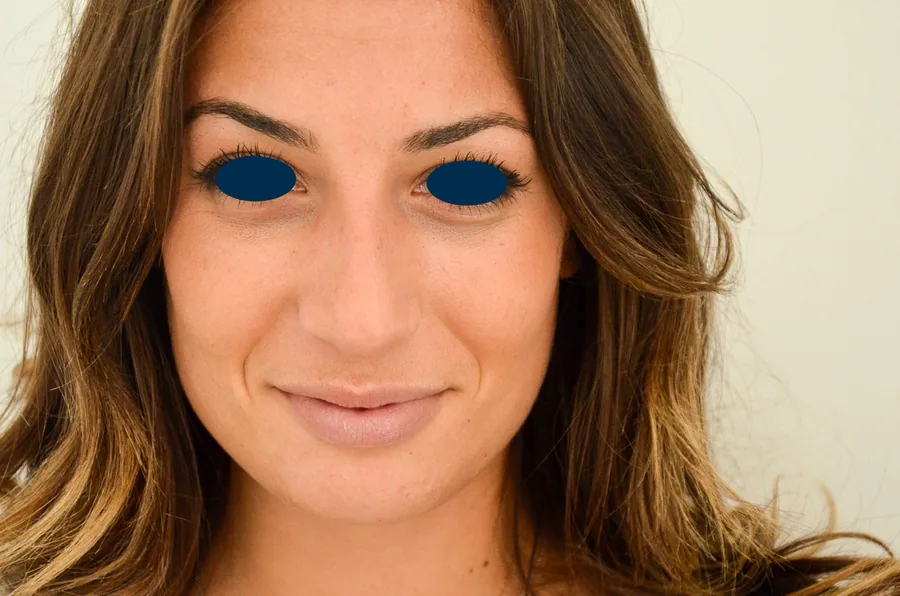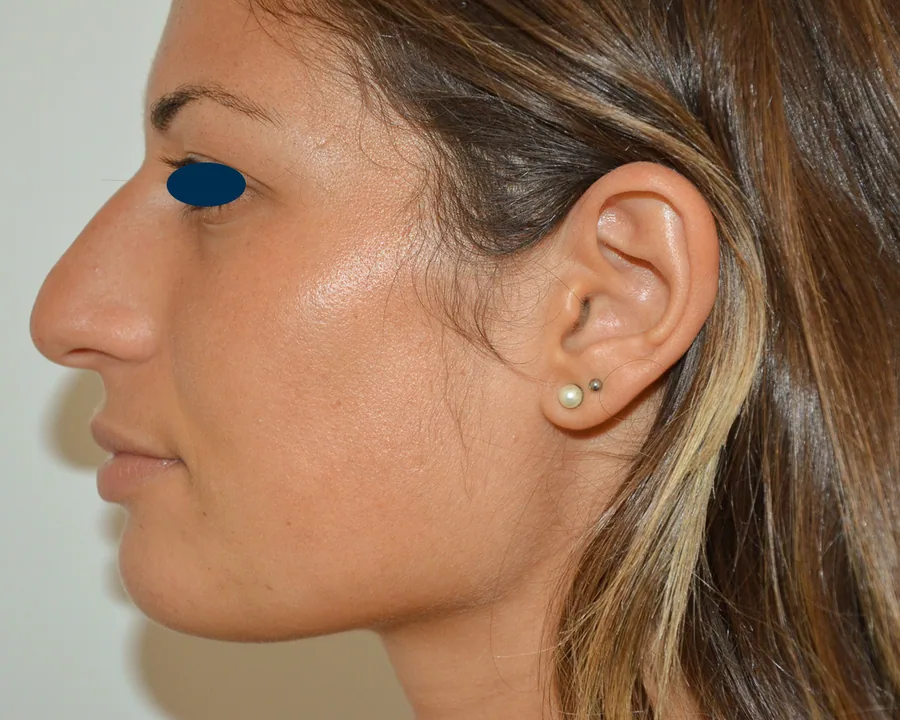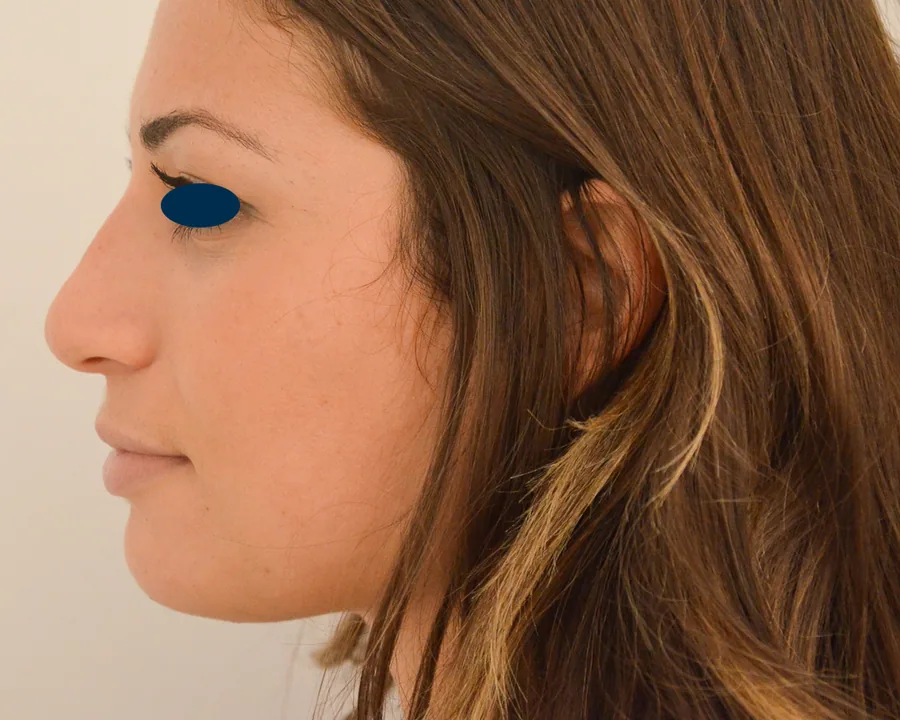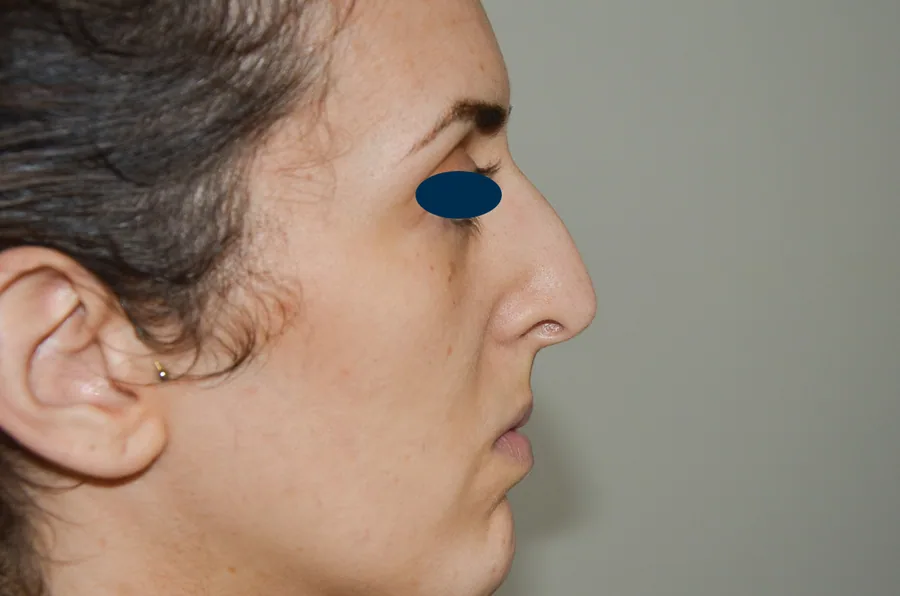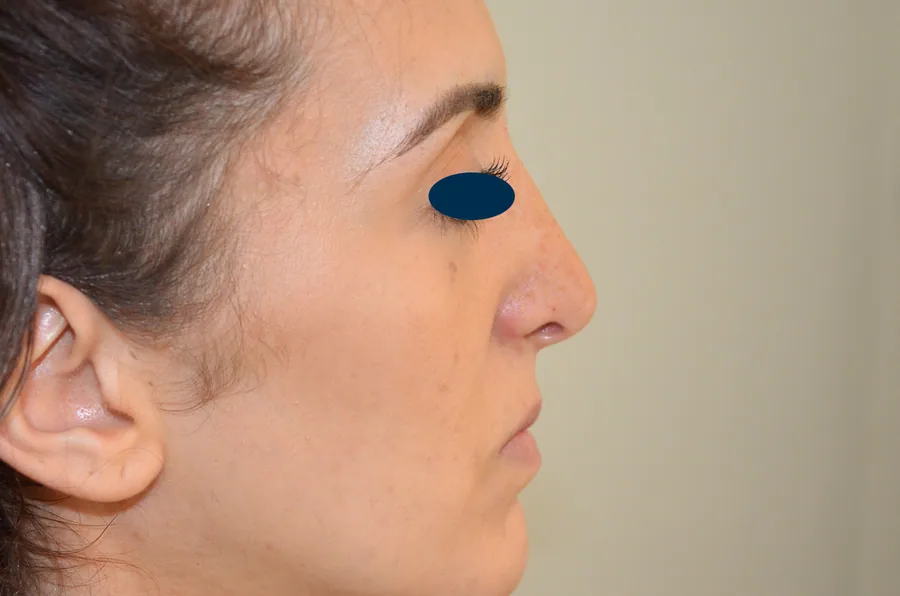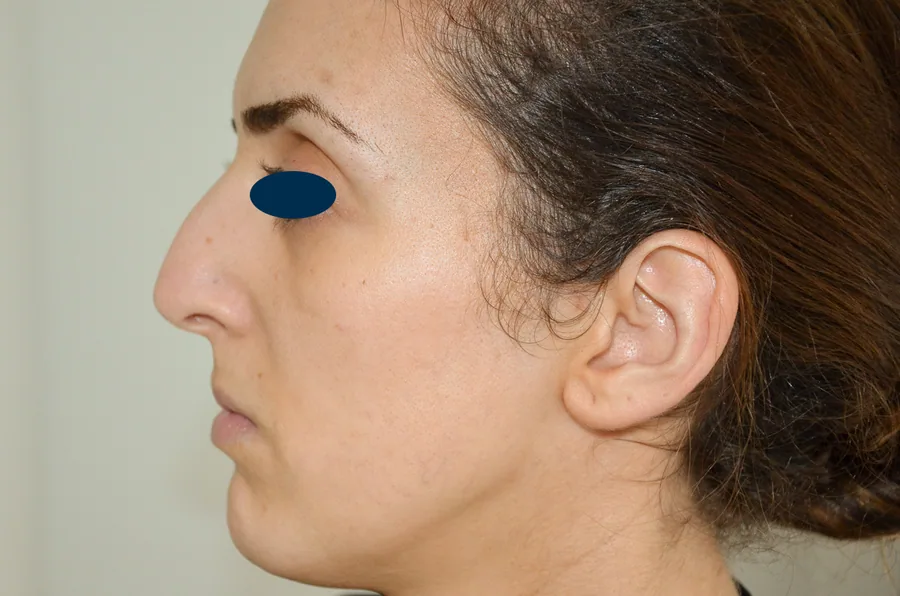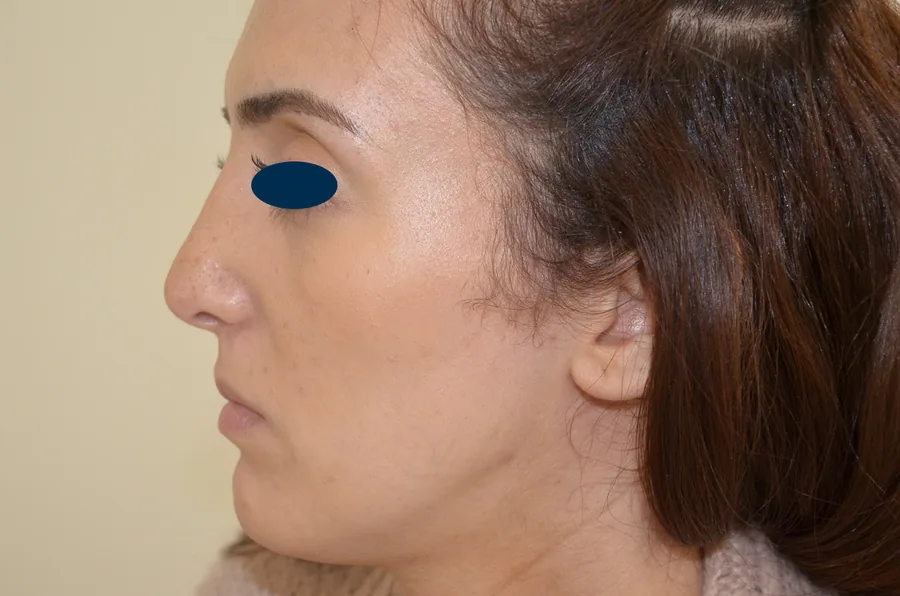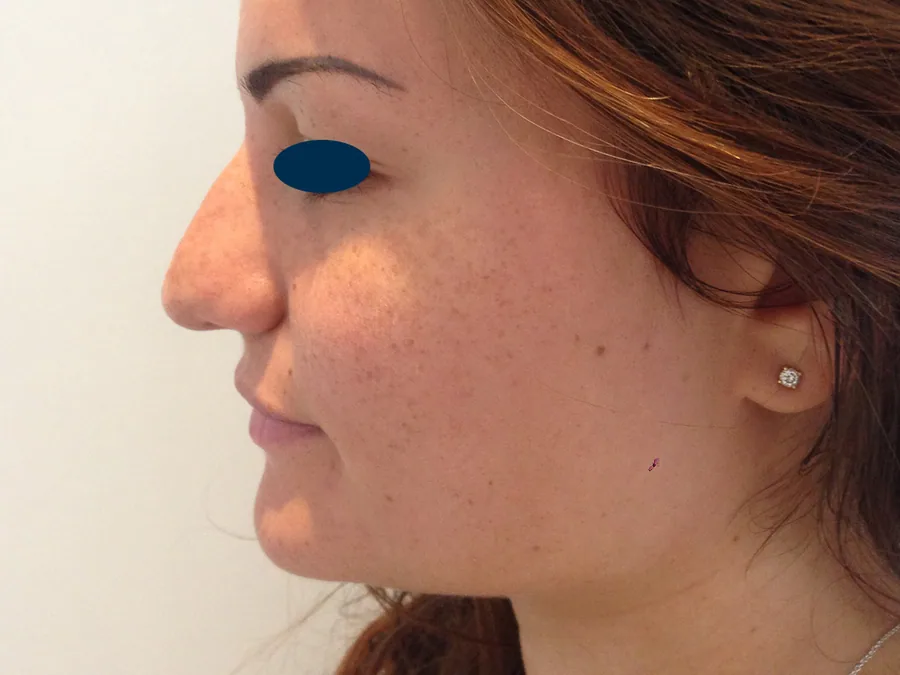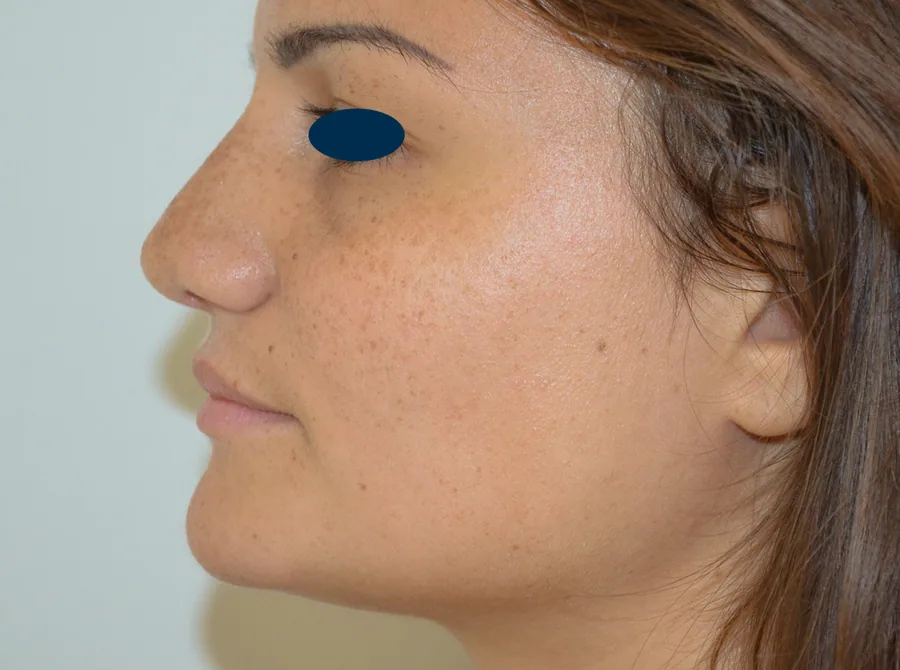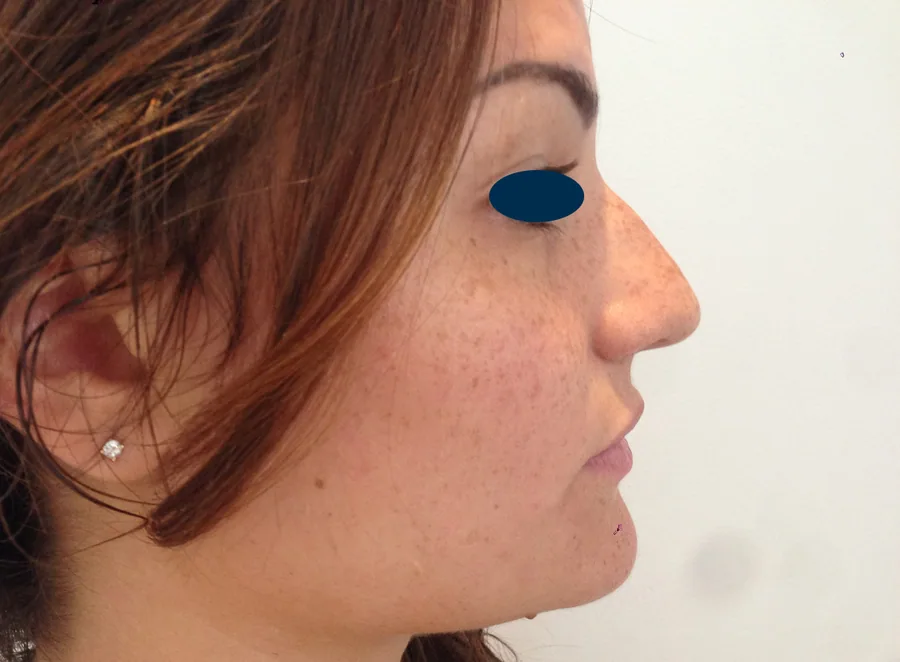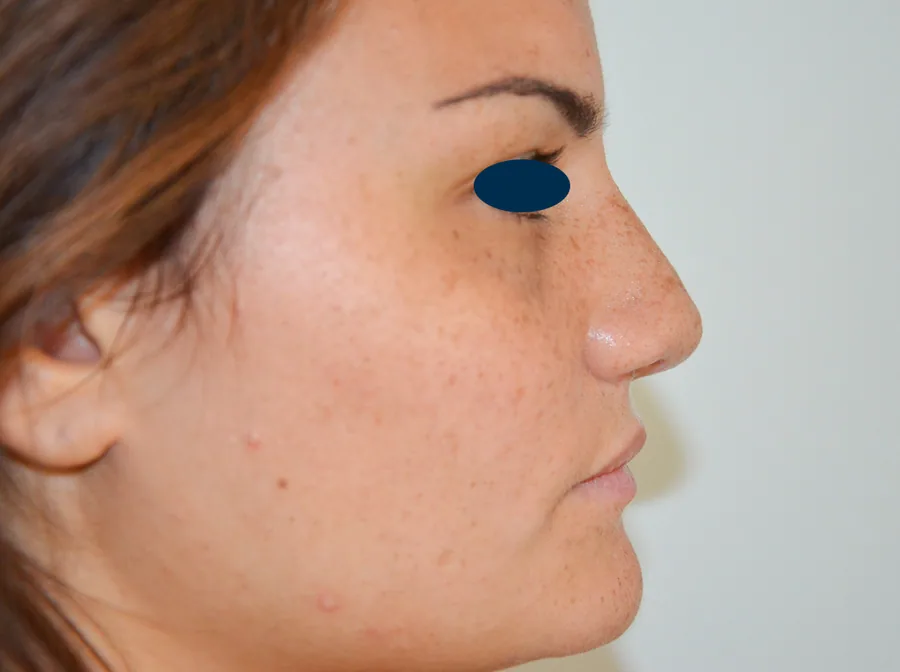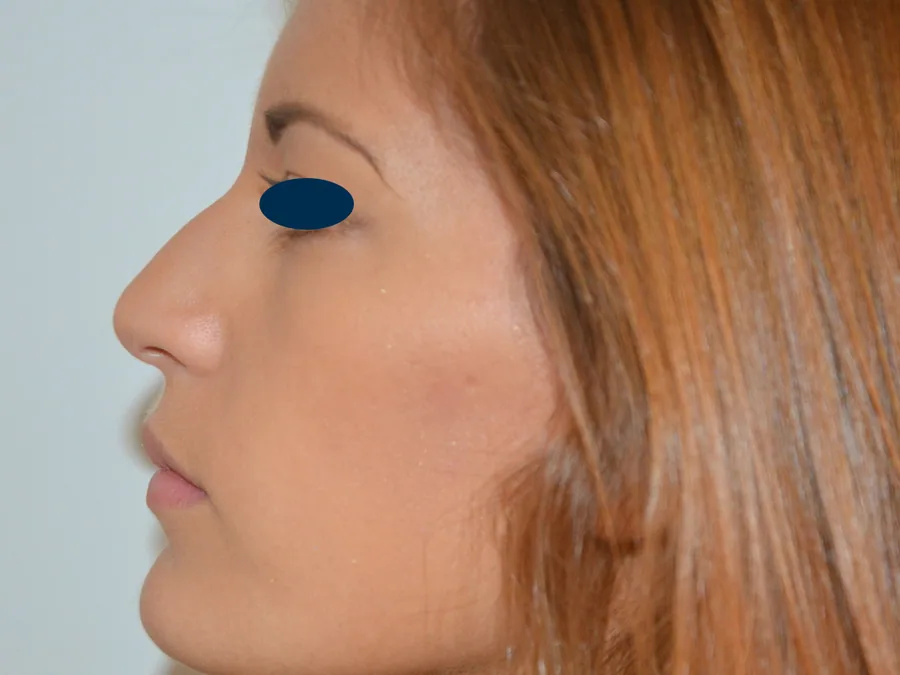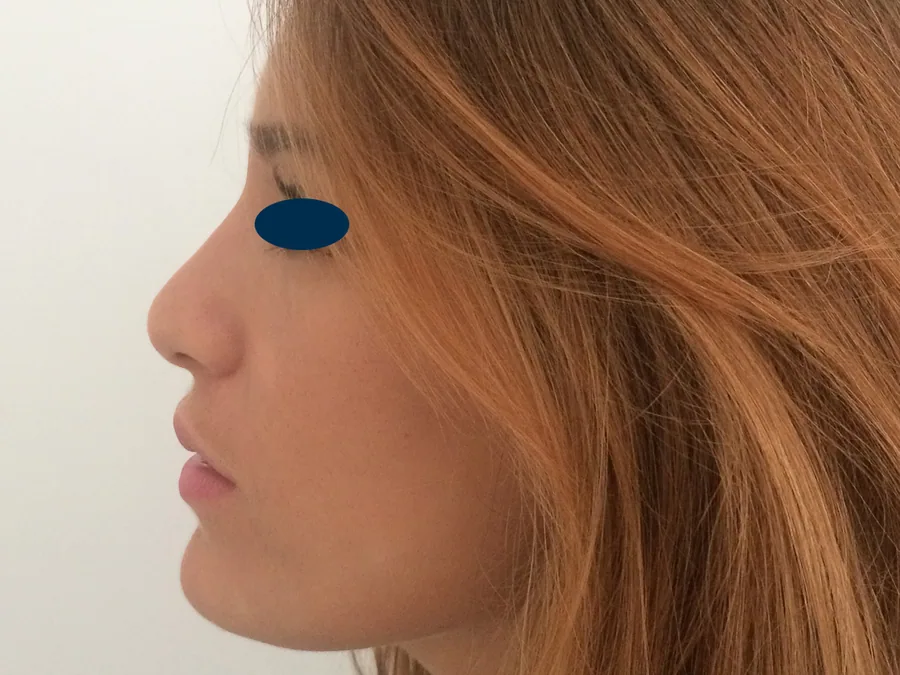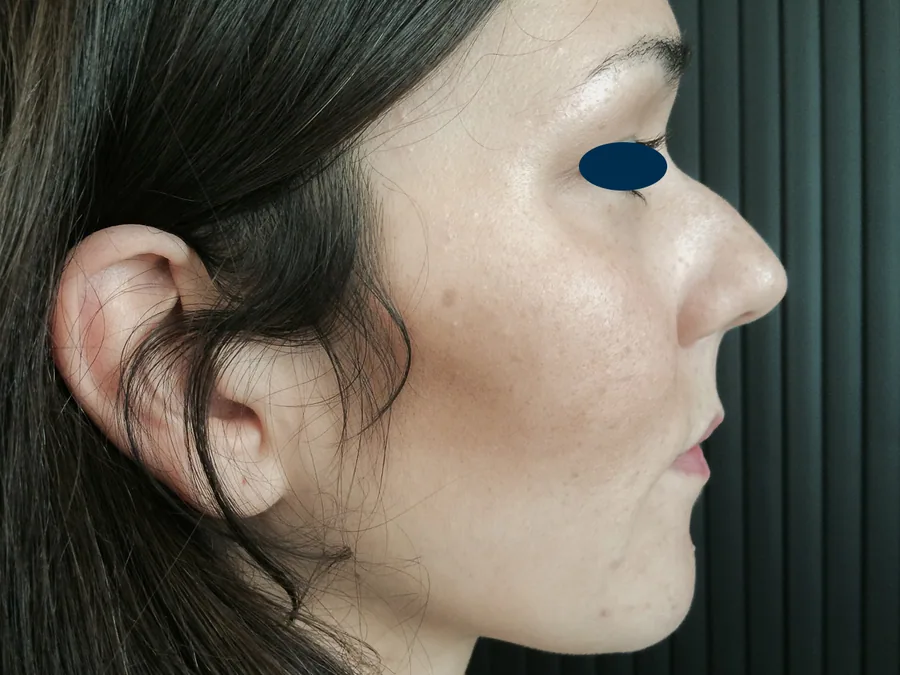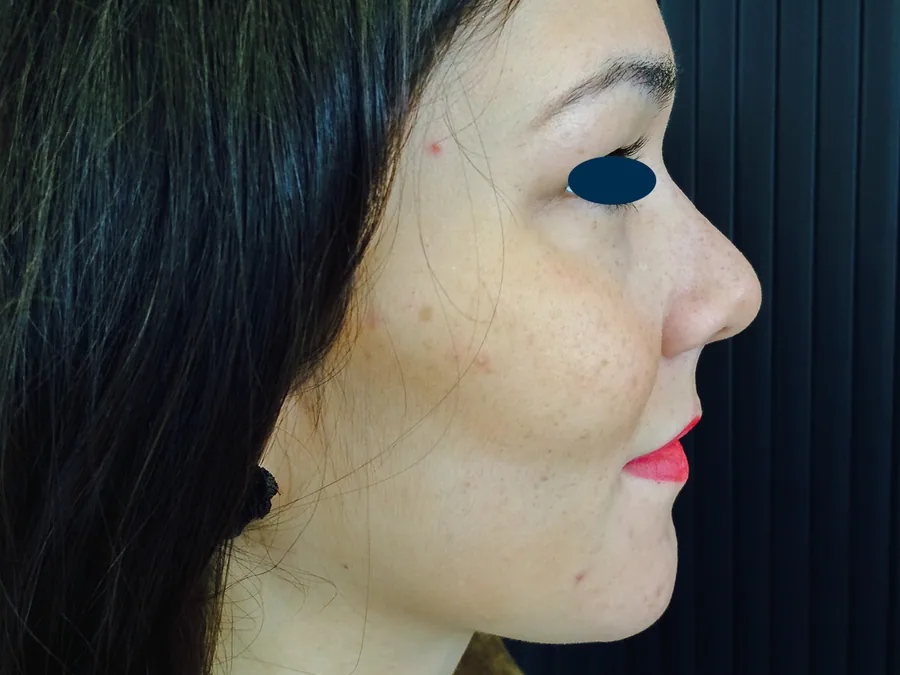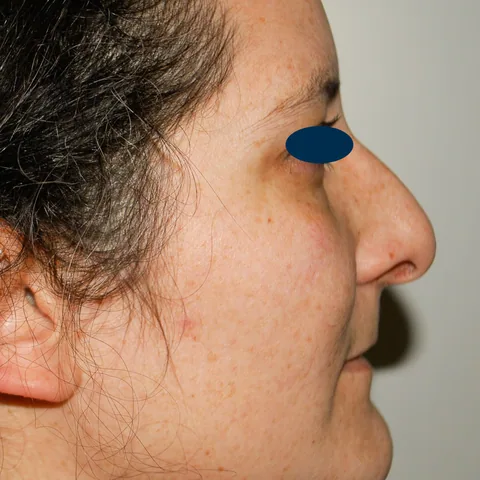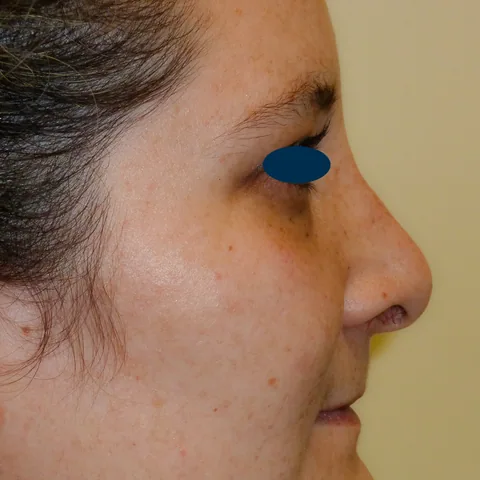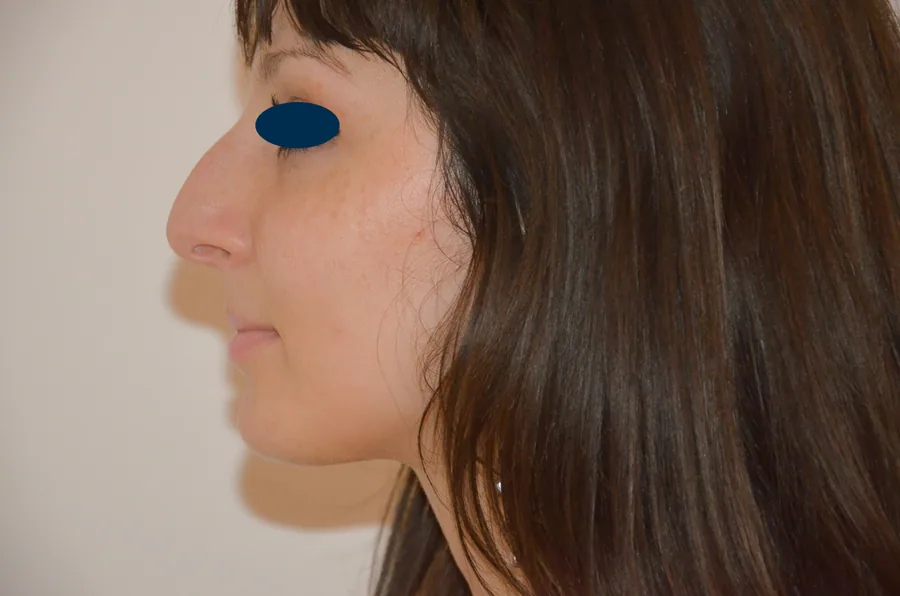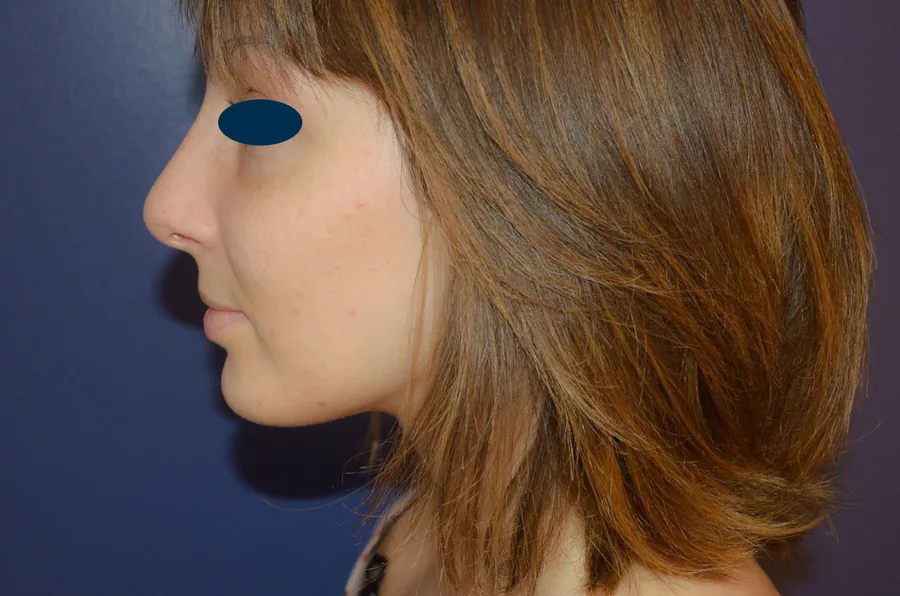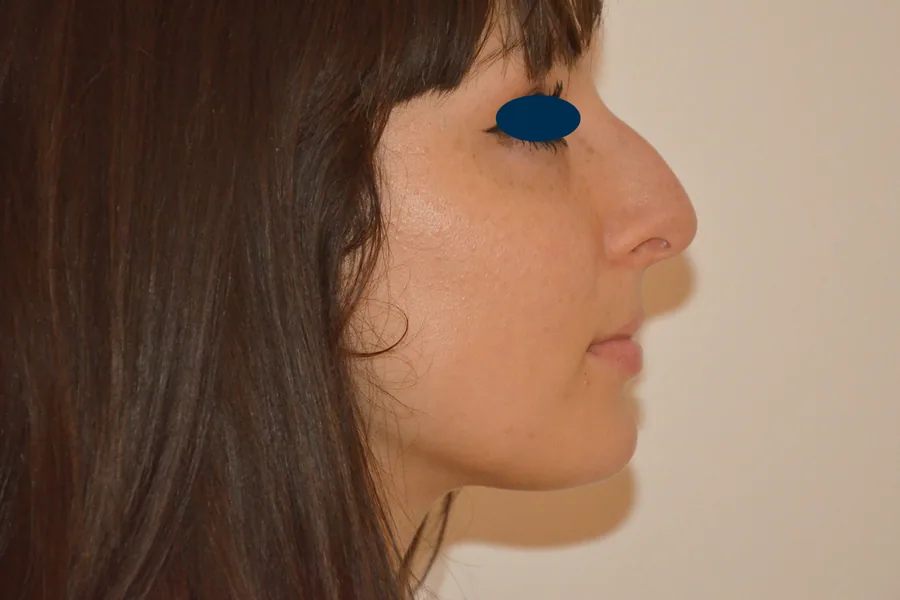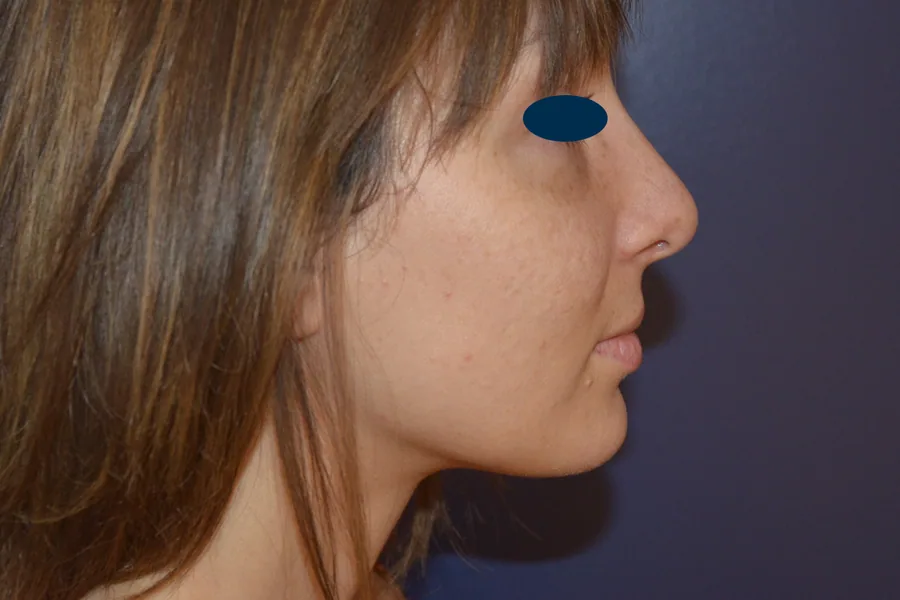
Rhinoplasty: before and after photographs
This gallery shows real before-and-after photographs of patients who have had a rhinoplasty with Dr Benjamin Pulvermacker. The cases illustrated show various common indications: correction of a nasal hump, harmonisation of the profile, refinement of the tip. Dr Pulvermacker's objective is always a natural result, one that respects the identity of the face.
The result depends closely on the initial anatomy of the nose and on each patient's expectations. To understand the technique used and the recovery, see our page devoted to rhinoplasty in Paris, or book a consultation.
How to read these rhinoplasty photographs
A nose is judged first in profile: the line of the bridge, the projection and rotation of the tip, the angle between the base of the nose and the upper lip. From the front, look at the width of the bridge and the definition of the tip; in three-quarter view, at the continuity between bridge and tip. A good result is not recognised by a “standard” nose, but by a nose that suits the rest of the face — which is why the bridge and the tip are always assessed together.
In the great majority of cases the operation is performed by the closed approach, inside the nostrils, leaving no visible scar; with the open approach, a short scar on the columella usually becomes very discreet. Thick skin conceals part of the work done on the cartilage. The final nose is judged at one year: the tip is the last area to lose its swelling, and the first three months give an indication, not a result.
Frequently asked questions
Are the photographs real results?
Yes. All the photographs shown are of patients operated on by Dr Pulvermacker and are published with their written consent.
Will my result be the same?
No. Every morphology, every skin quality and every process of healing is different: these images illustrate individual results.