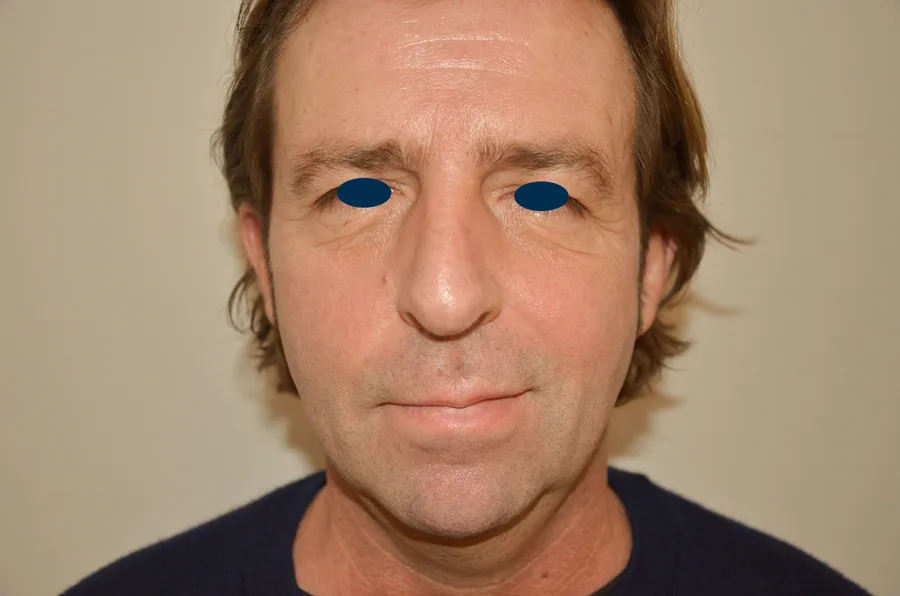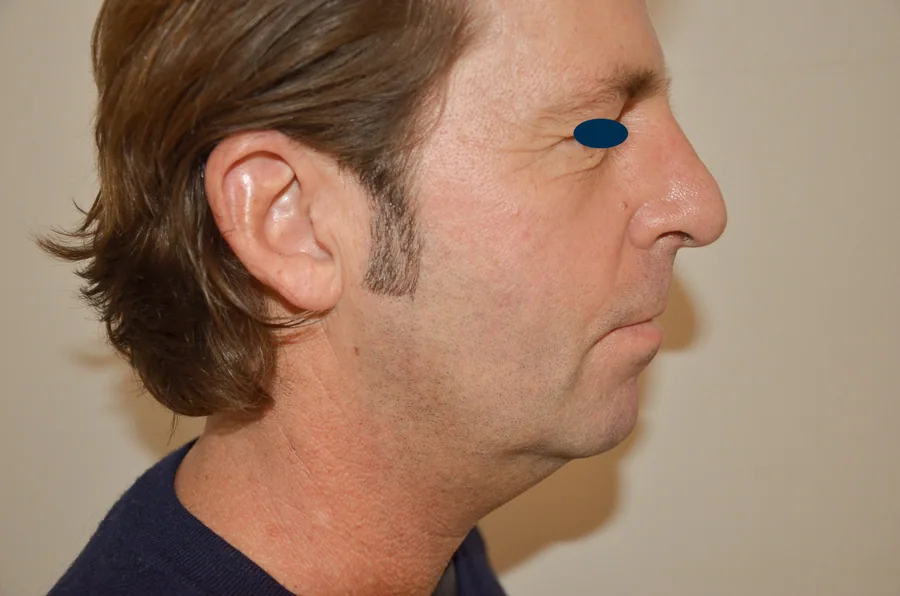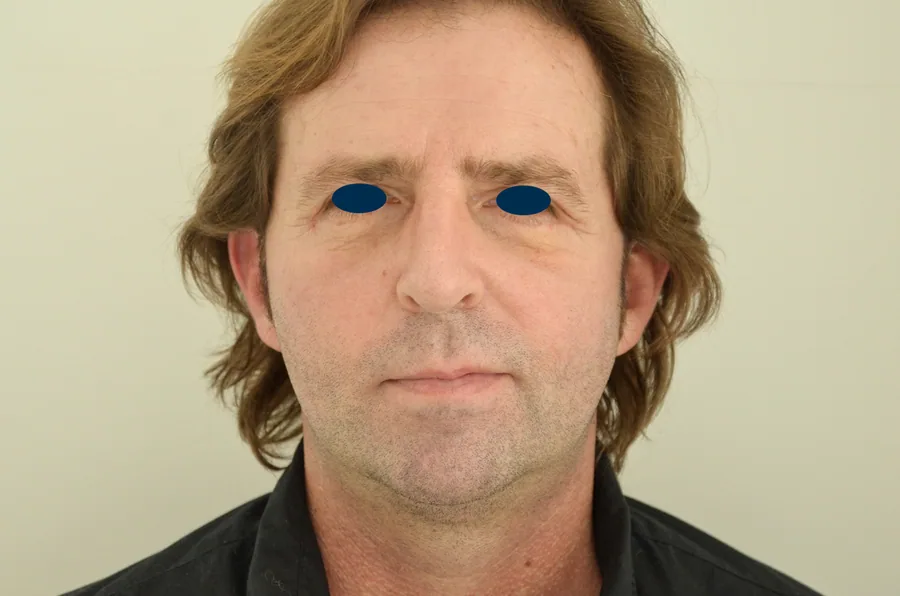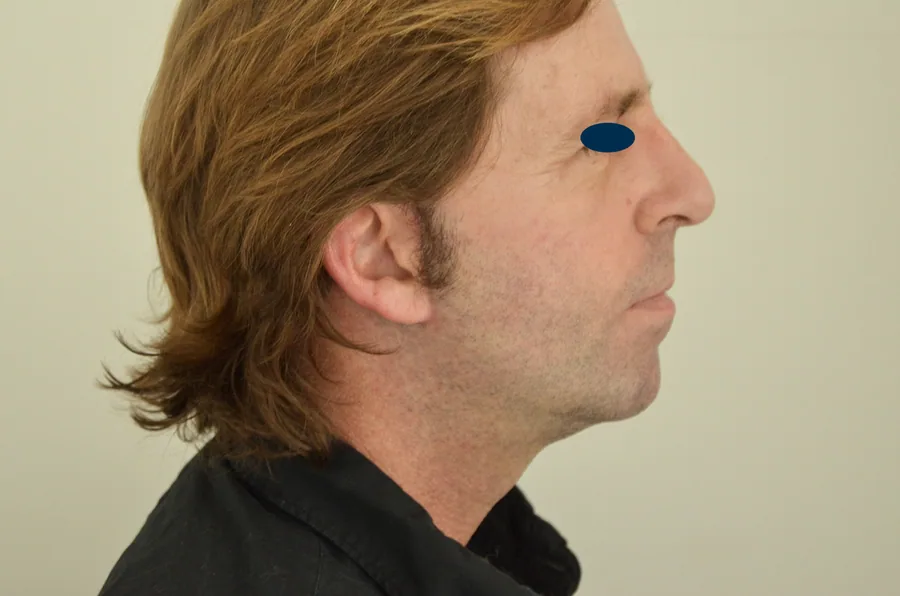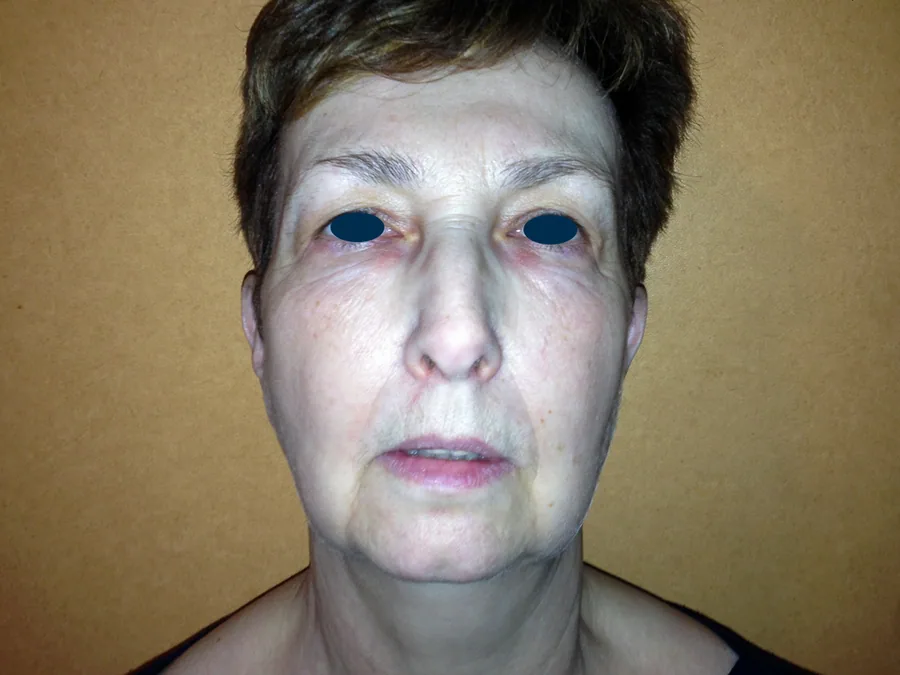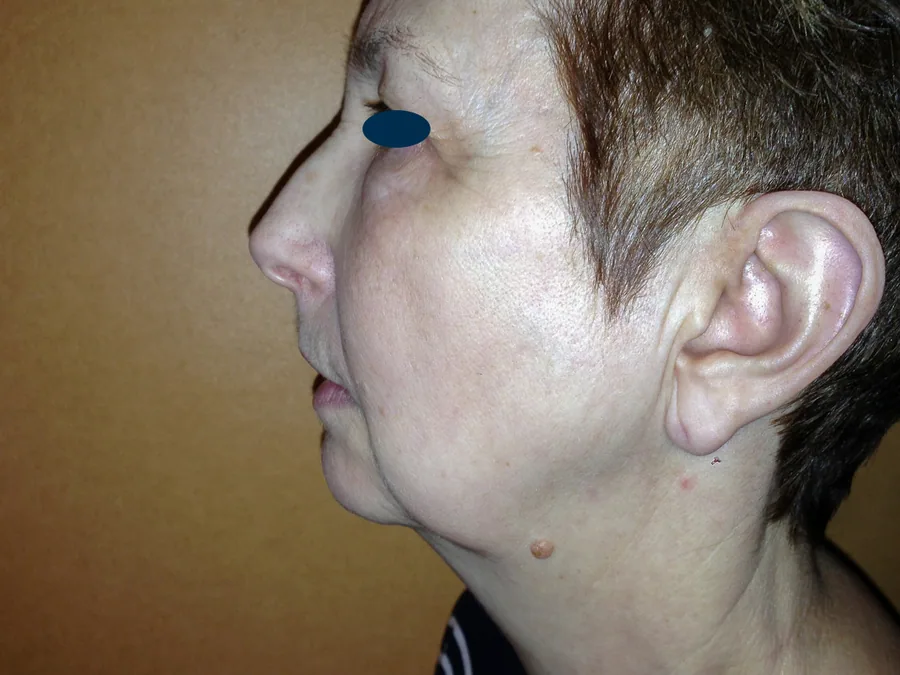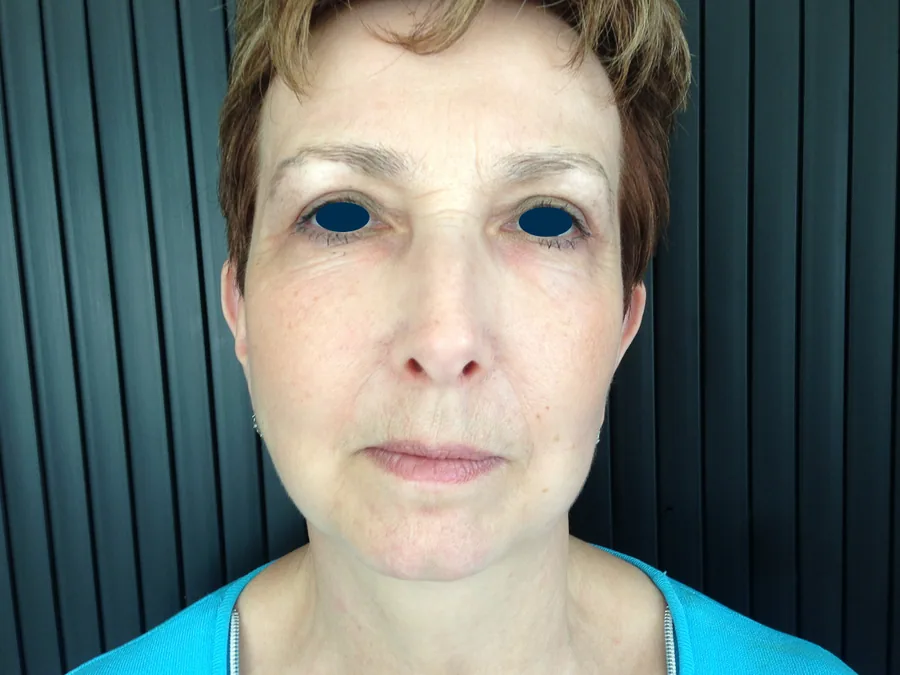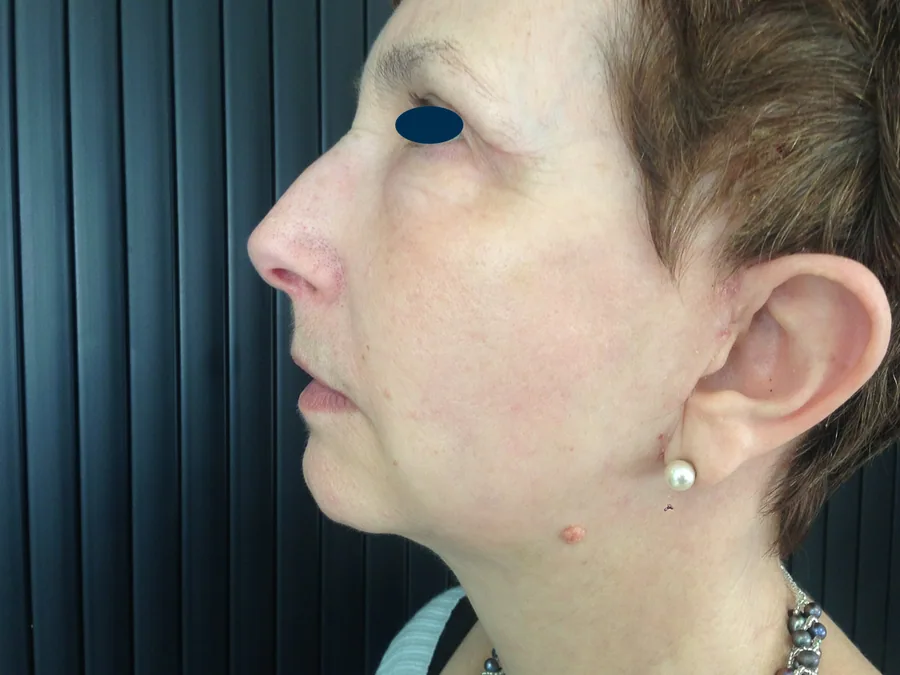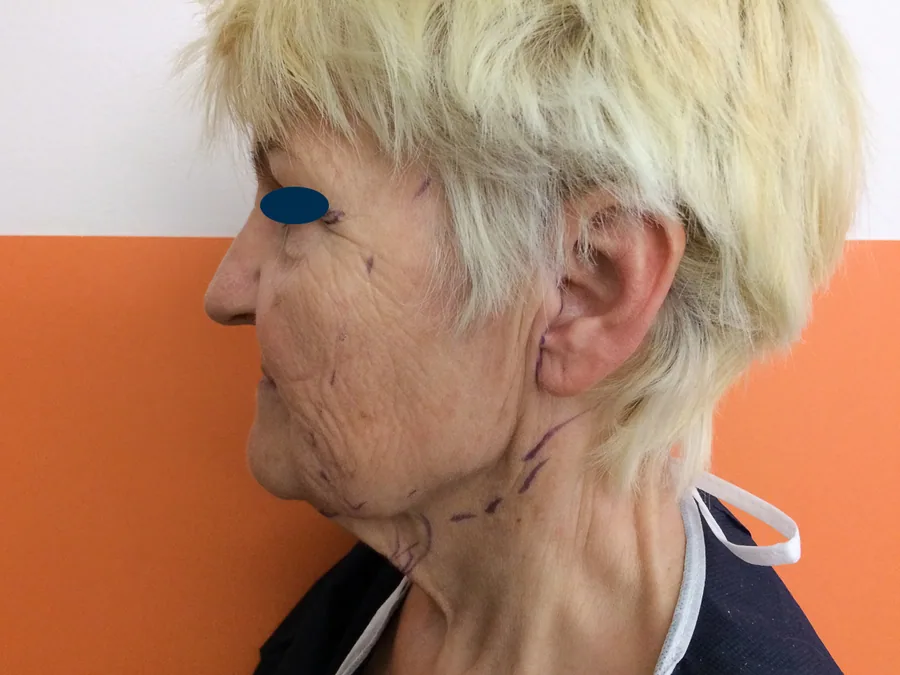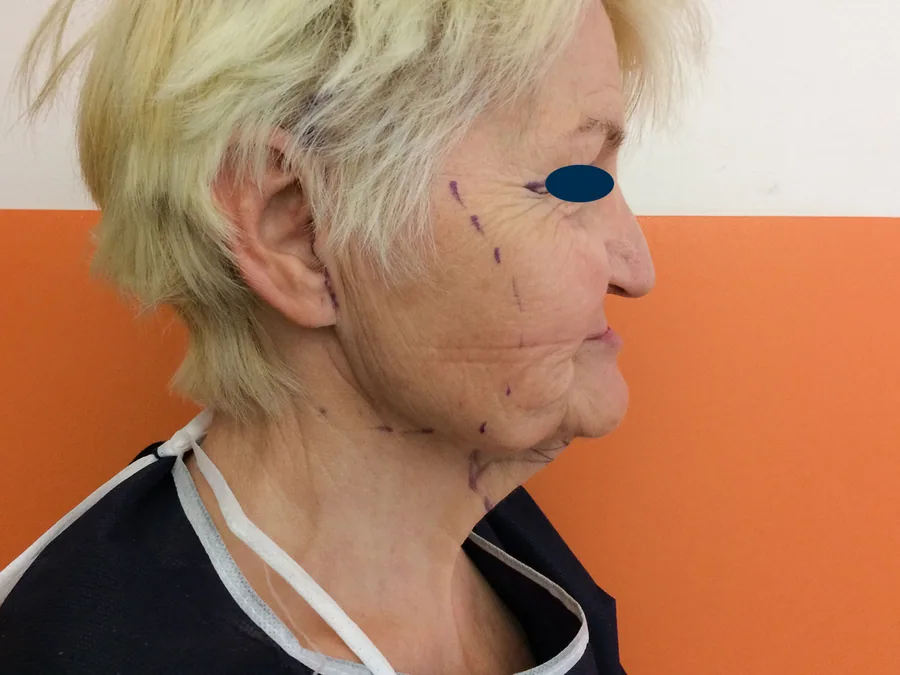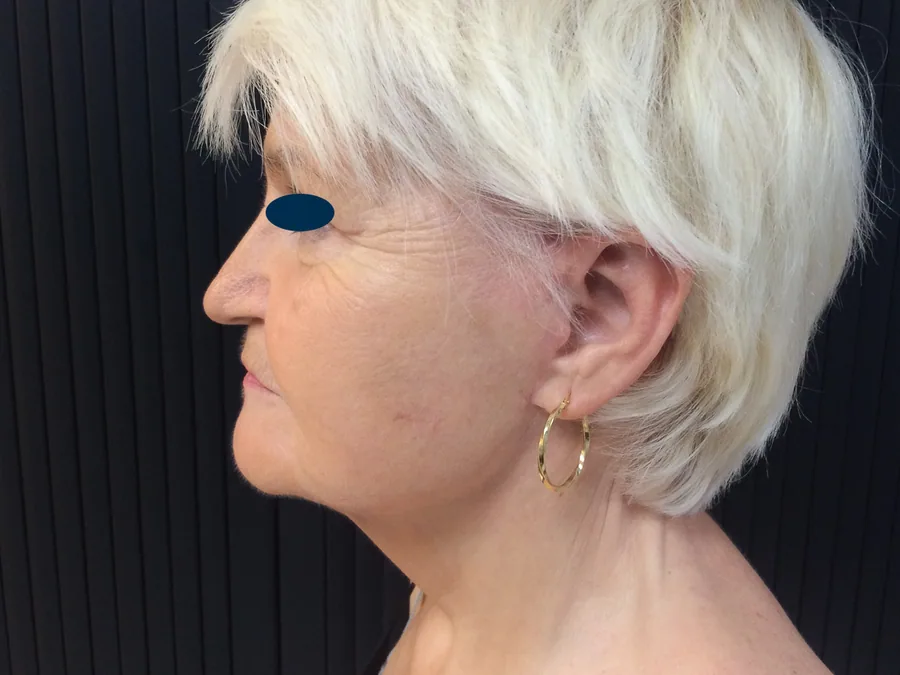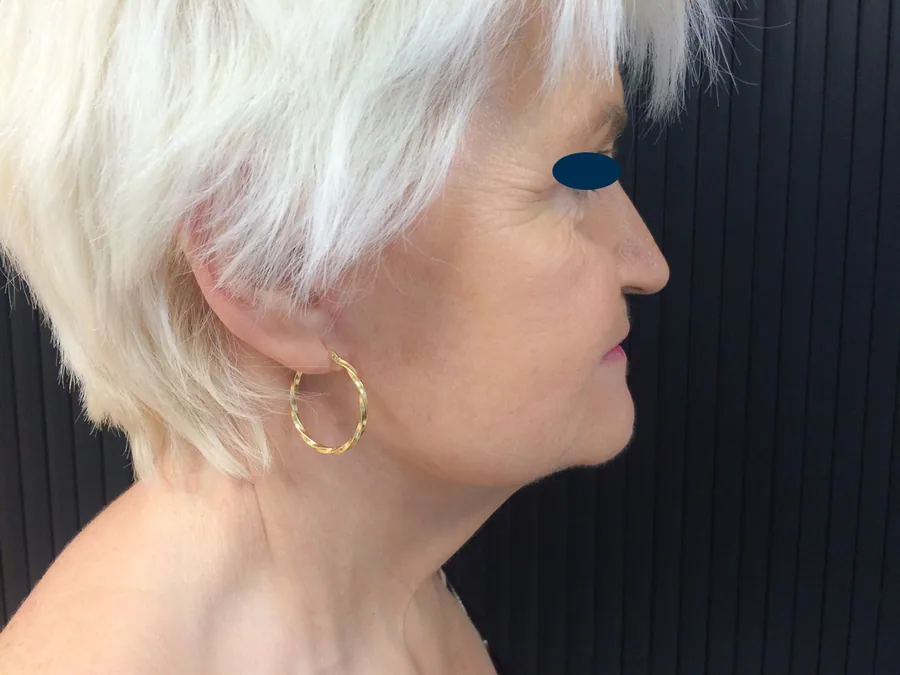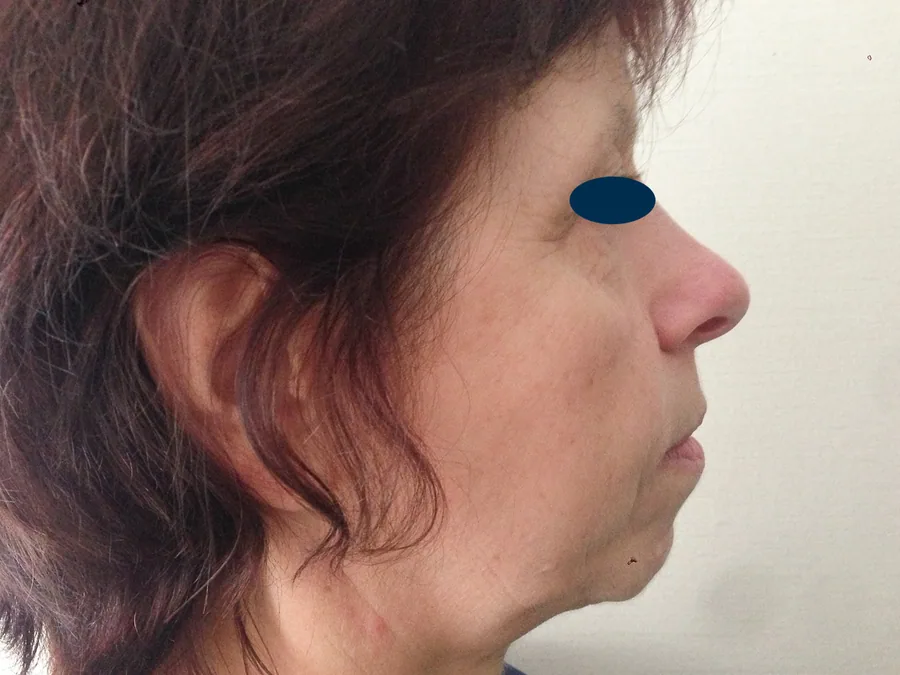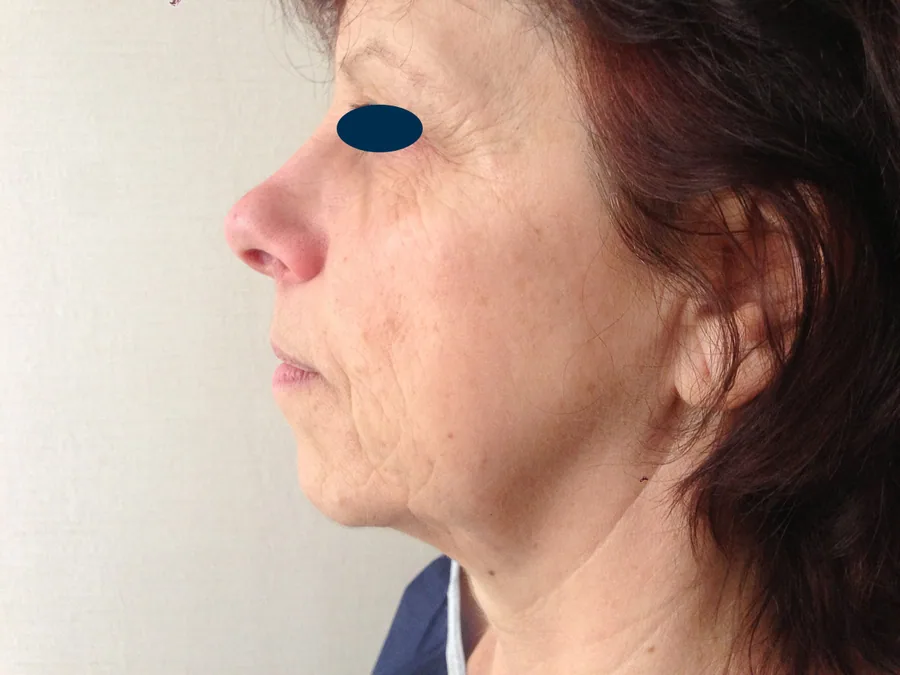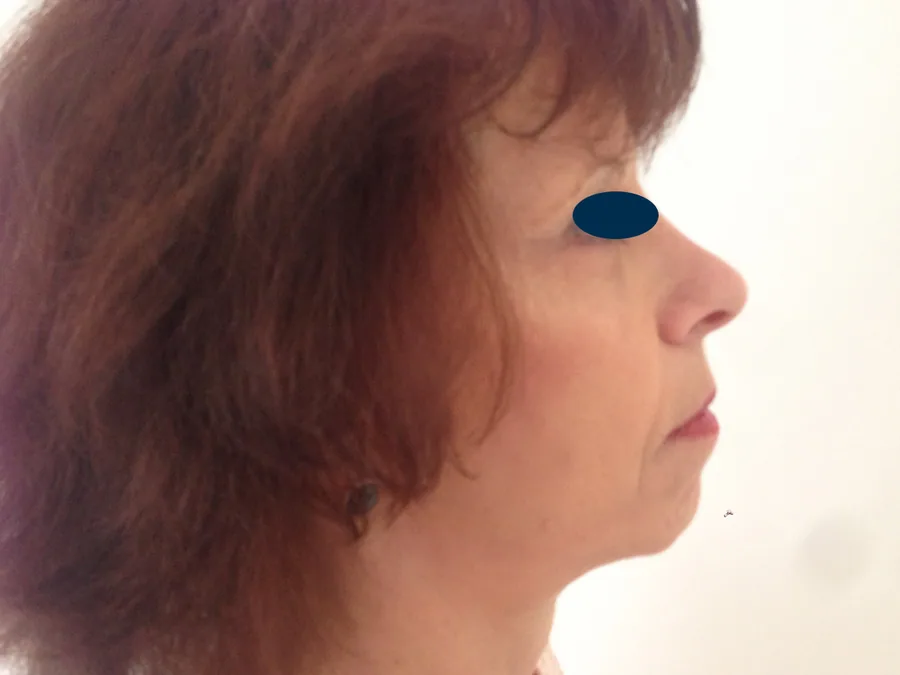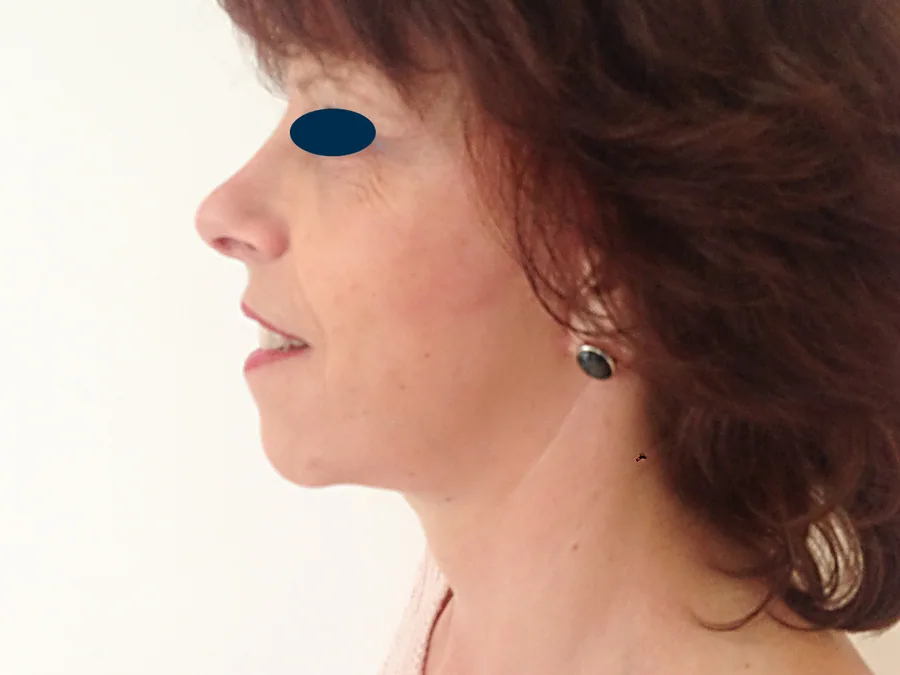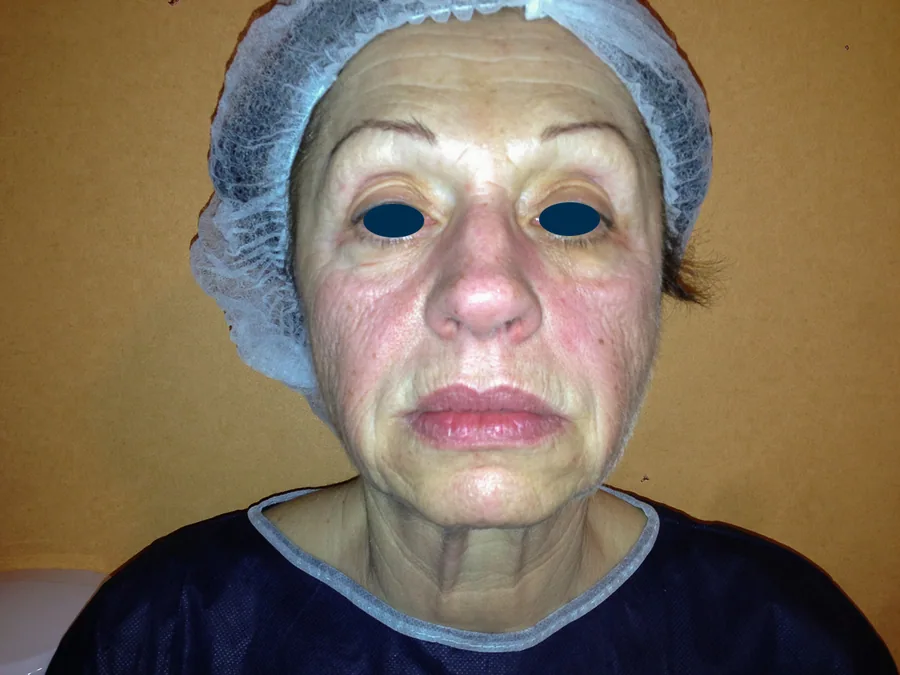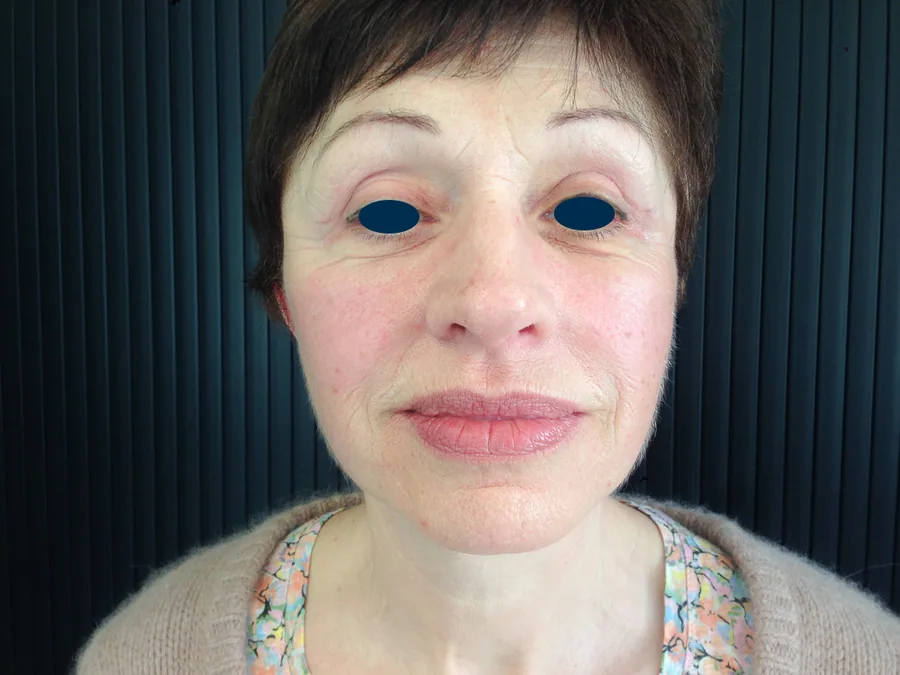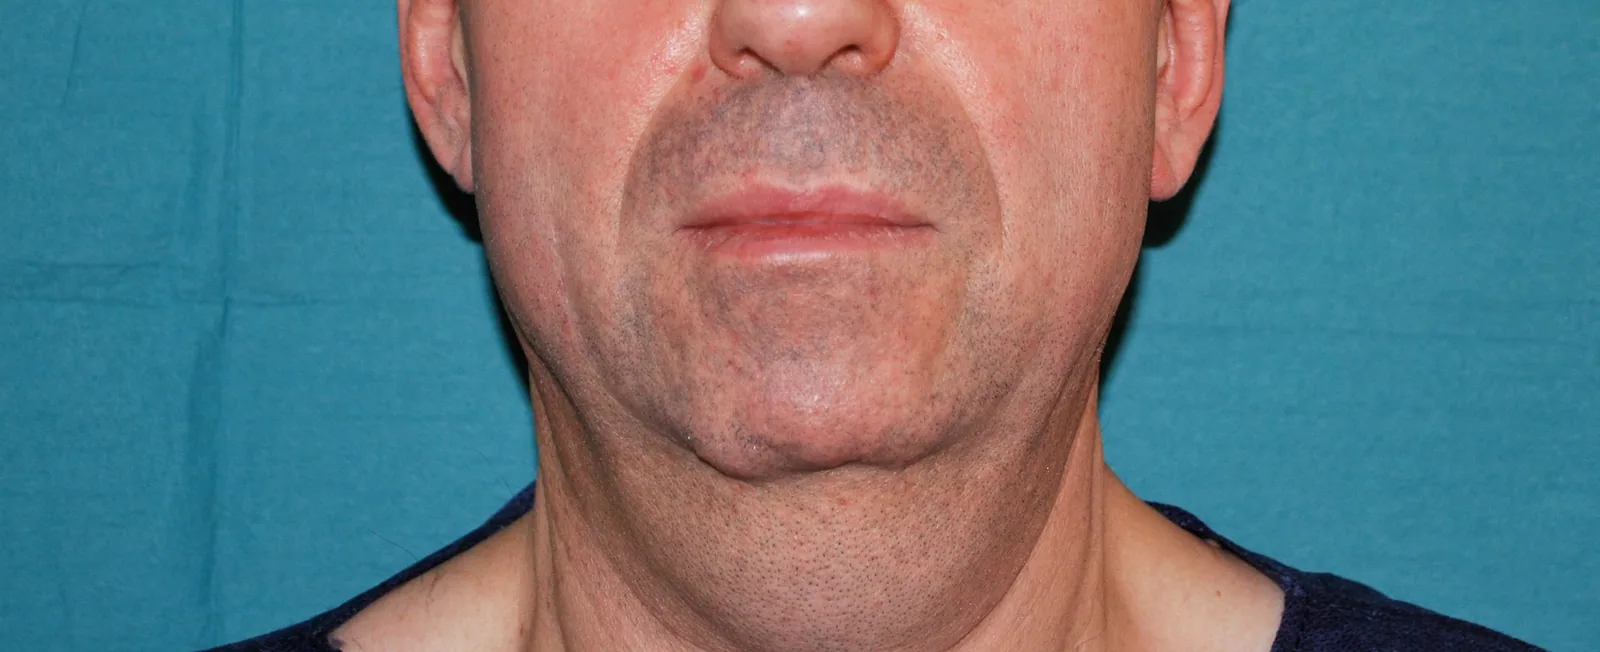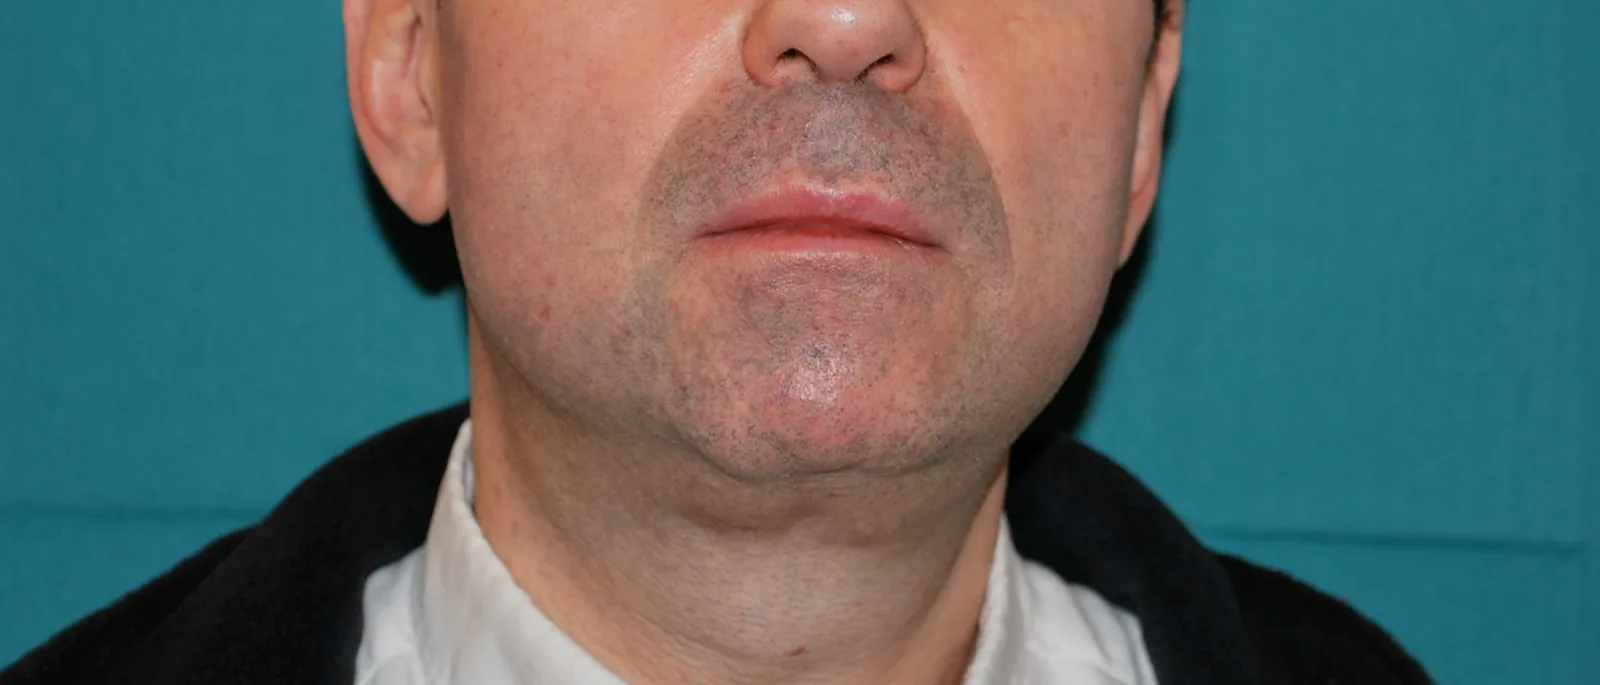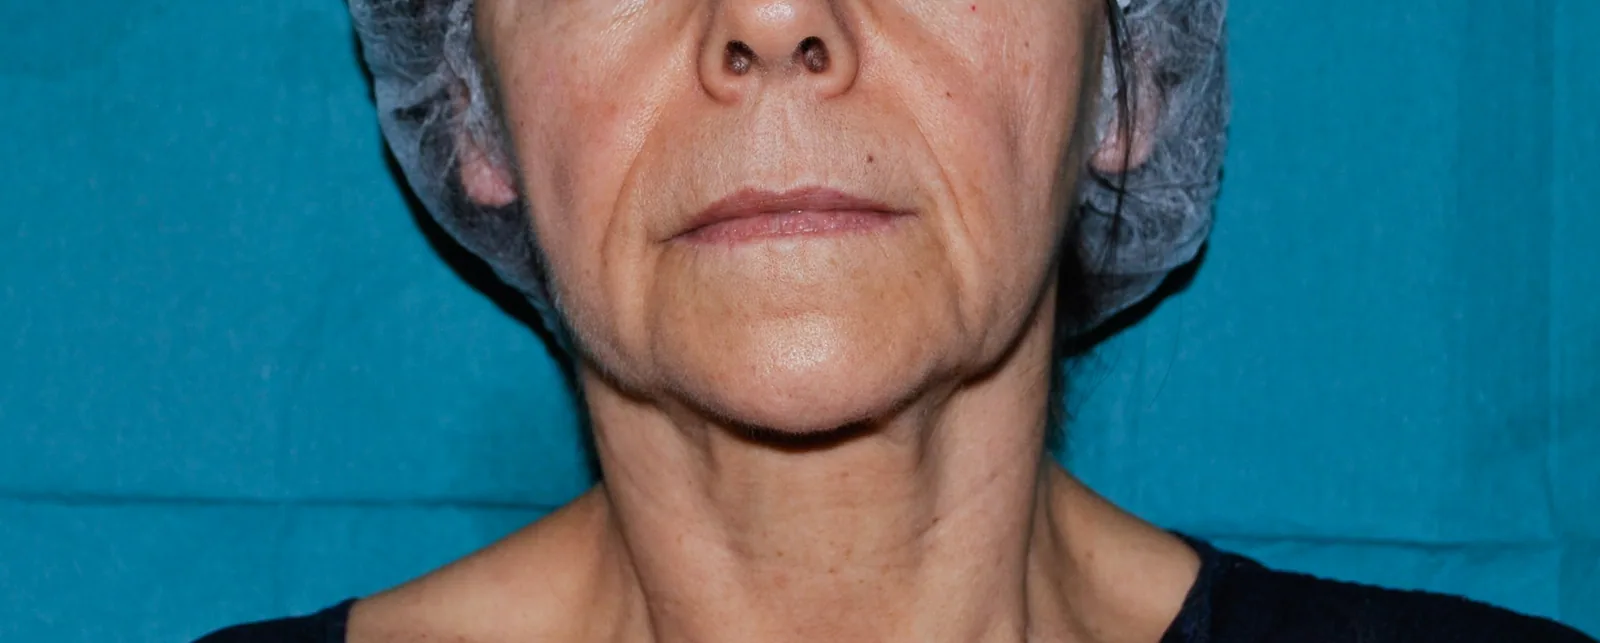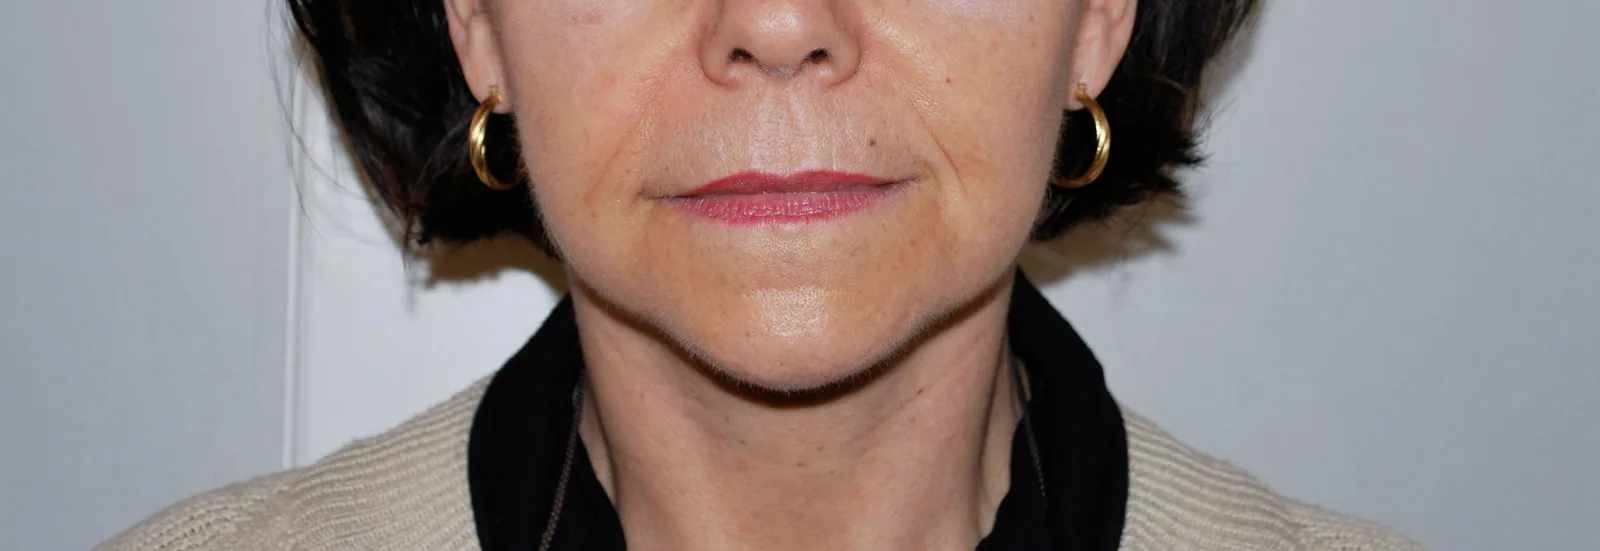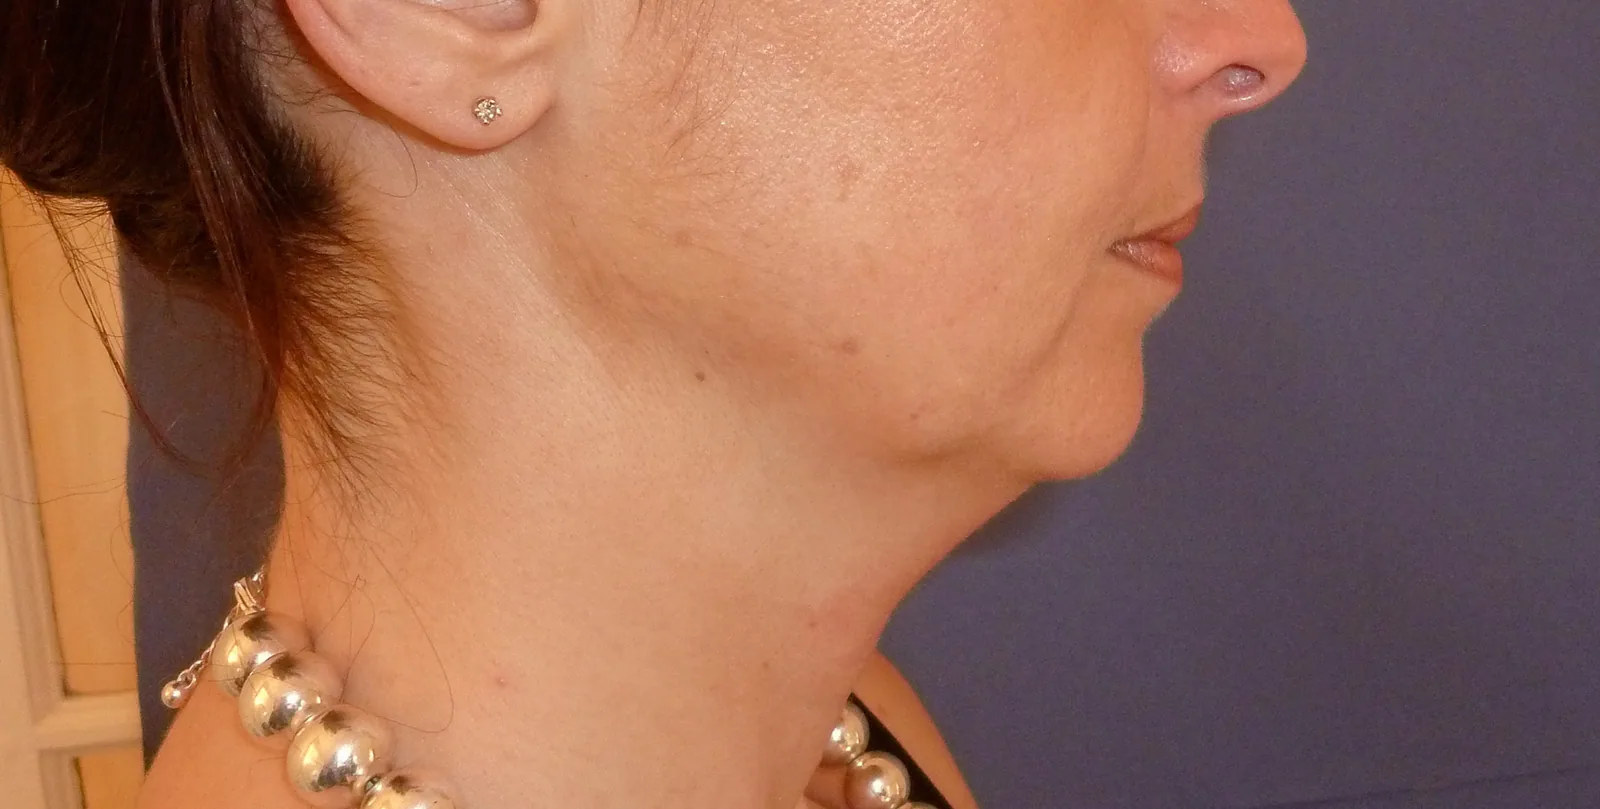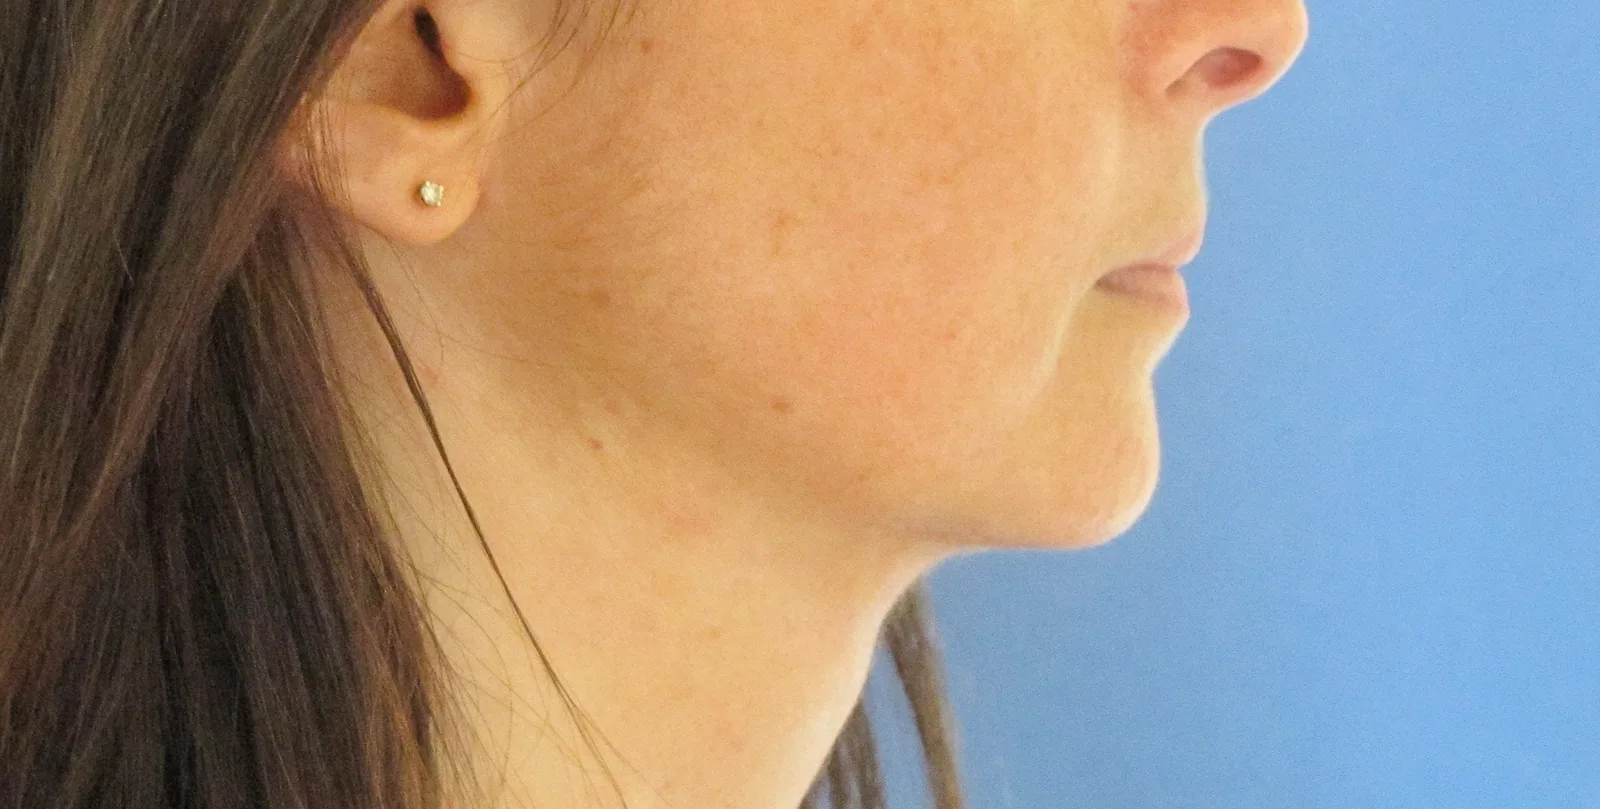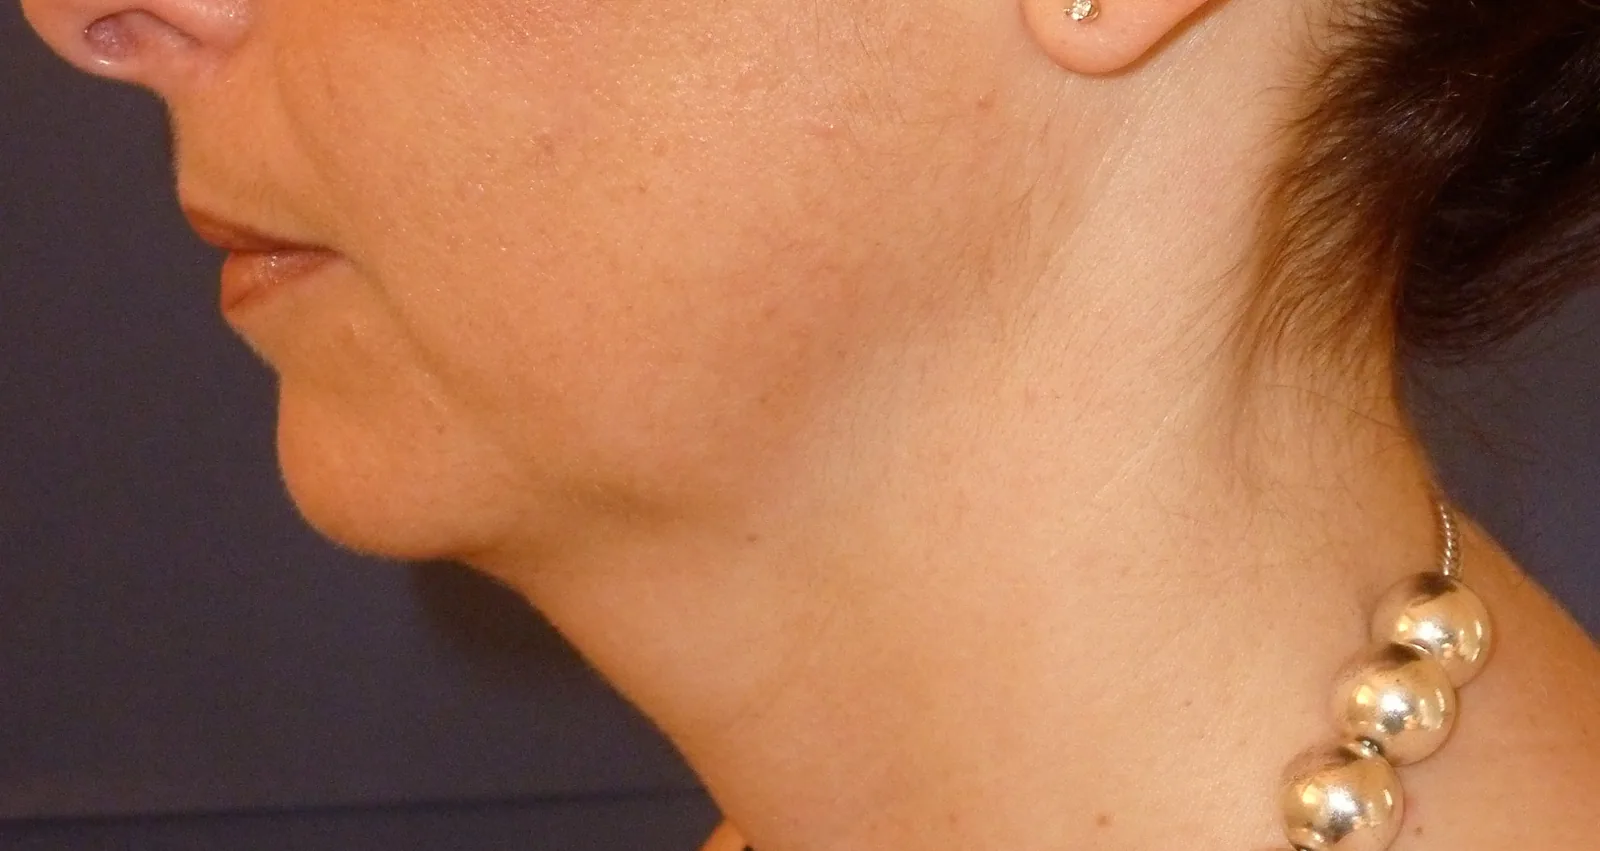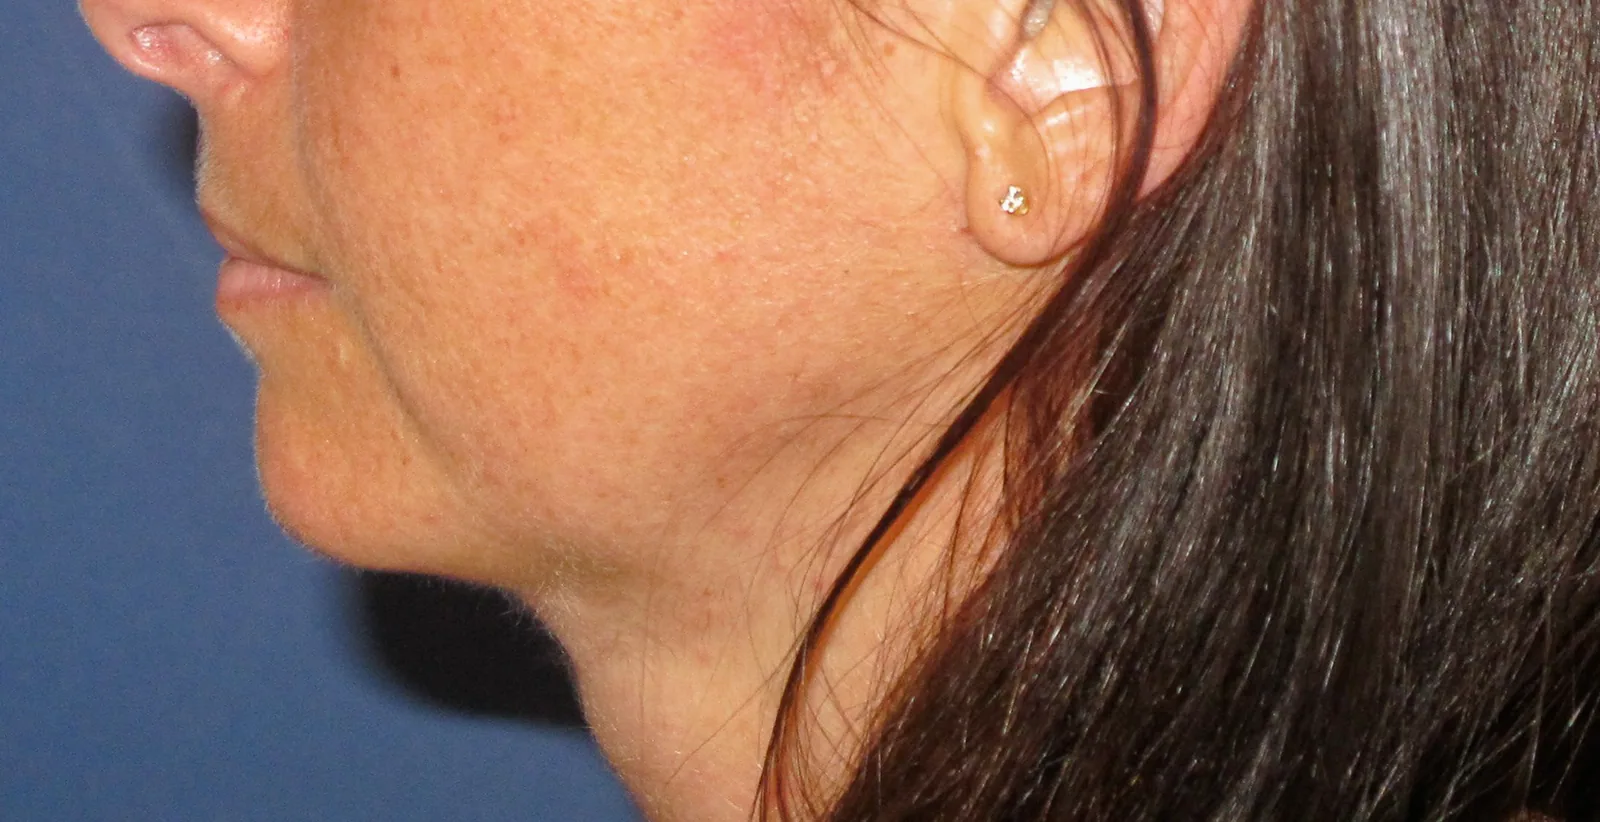
Cervicofacial lift: 9 cases in before-and-after photos
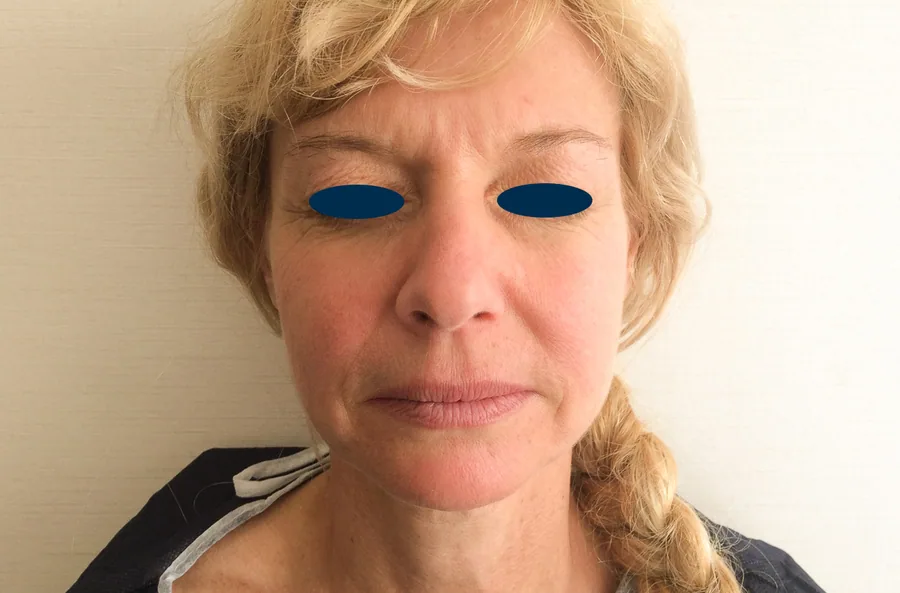
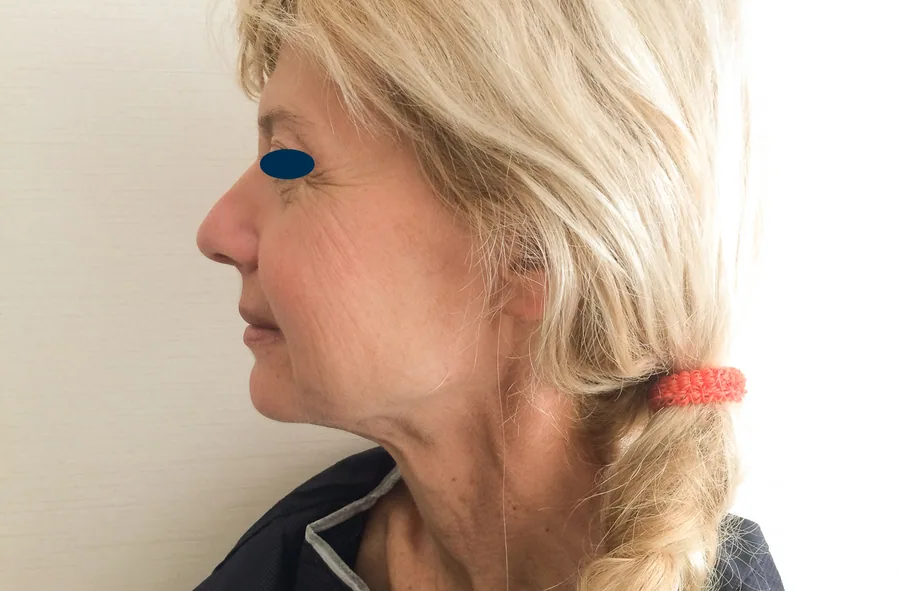
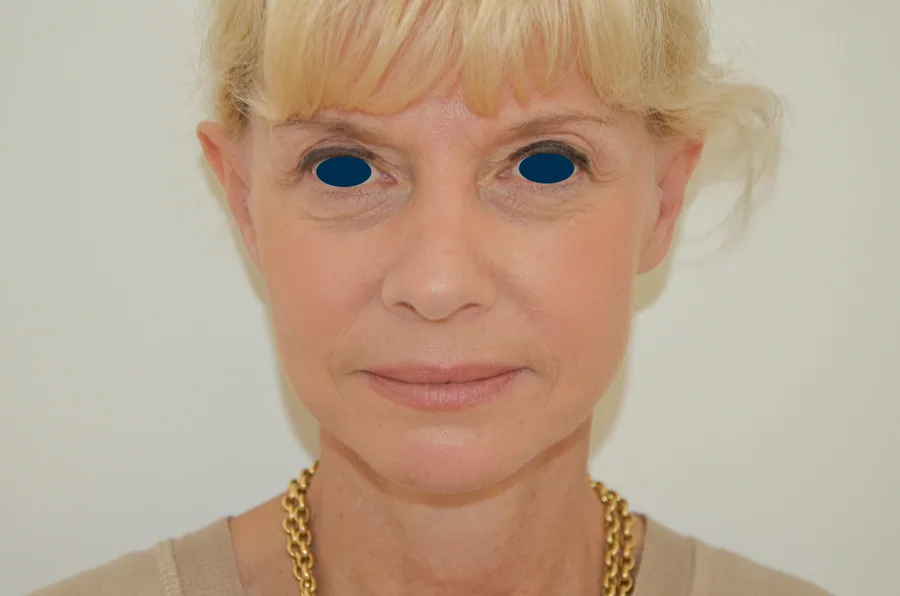
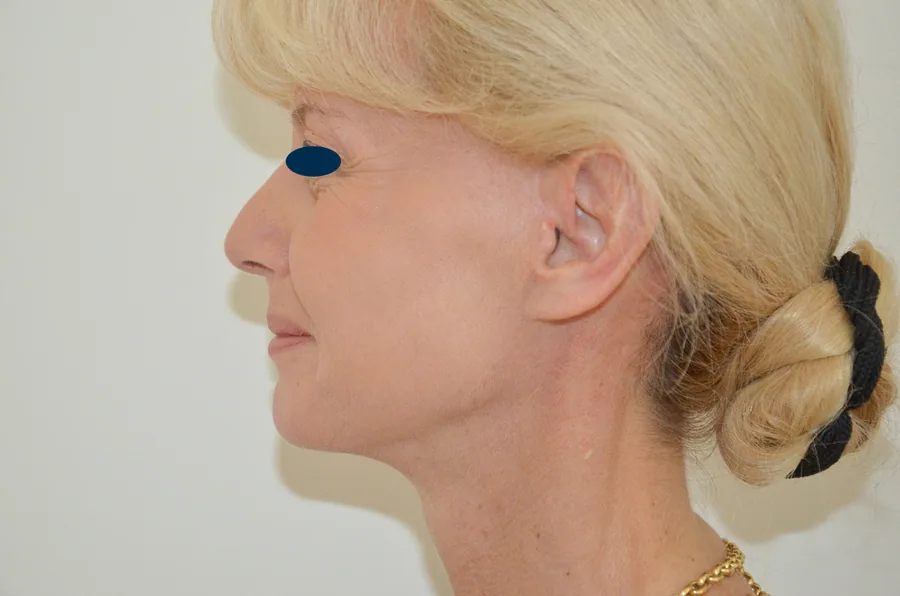
This gallery shows real before-and-after photographs of patients operated on by Dr Benjamin Pulvermacker for a face and neck lift (cervicofacial lift). Each case illustrates a natural result: a re-tensioned jawline, a refined neck and redefined cheekbones, with no frozen or « pulled » effect. Dr Pulvermacker favours an approach tailored to each patient's morphology.
These photographs do not replace a consultation: every face is different and the result depends on many individual factors. To understand in detail the technique used, the recovery and the indications, see our page devoted to the cervicofacial lift, or book a consultation.
How to read these facelift photographs
A facelift is judged first in profile and three-quarter view: the definition of the jawline, the disappearance of the jowls, the angle between the neck and the chin. From the front, look at the cheekbones: treating the lower face without the midface gives an unbalanced result, and that imbalance is the first thing a trained eye notices. The features should not look stretched, nor the corners of the mouth pulled outwards — the two signs of a lift that is too skin-based or too horizontal.
The scar follows the outline of the ear: it starts in the hair of the temple, runs down in front of the ear around the tragus, passes beneath the lobe and rises behind the ear into the scalp. The first weeks are not representative, as swelling gives a puffy and sometimes asymmetrical appearance. The result is considered final at six months; the scars continue to fade for twelve to eighteen months.
Frequently asked questions
Are the photographs real results?
Yes. All the photographs shown are of patients operated on by Dr Pulvermacker and are published with their written consent.
Will my result be the same?
No. Every morphology, every skin quality and every process of healing is different: these images illustrate individual results.